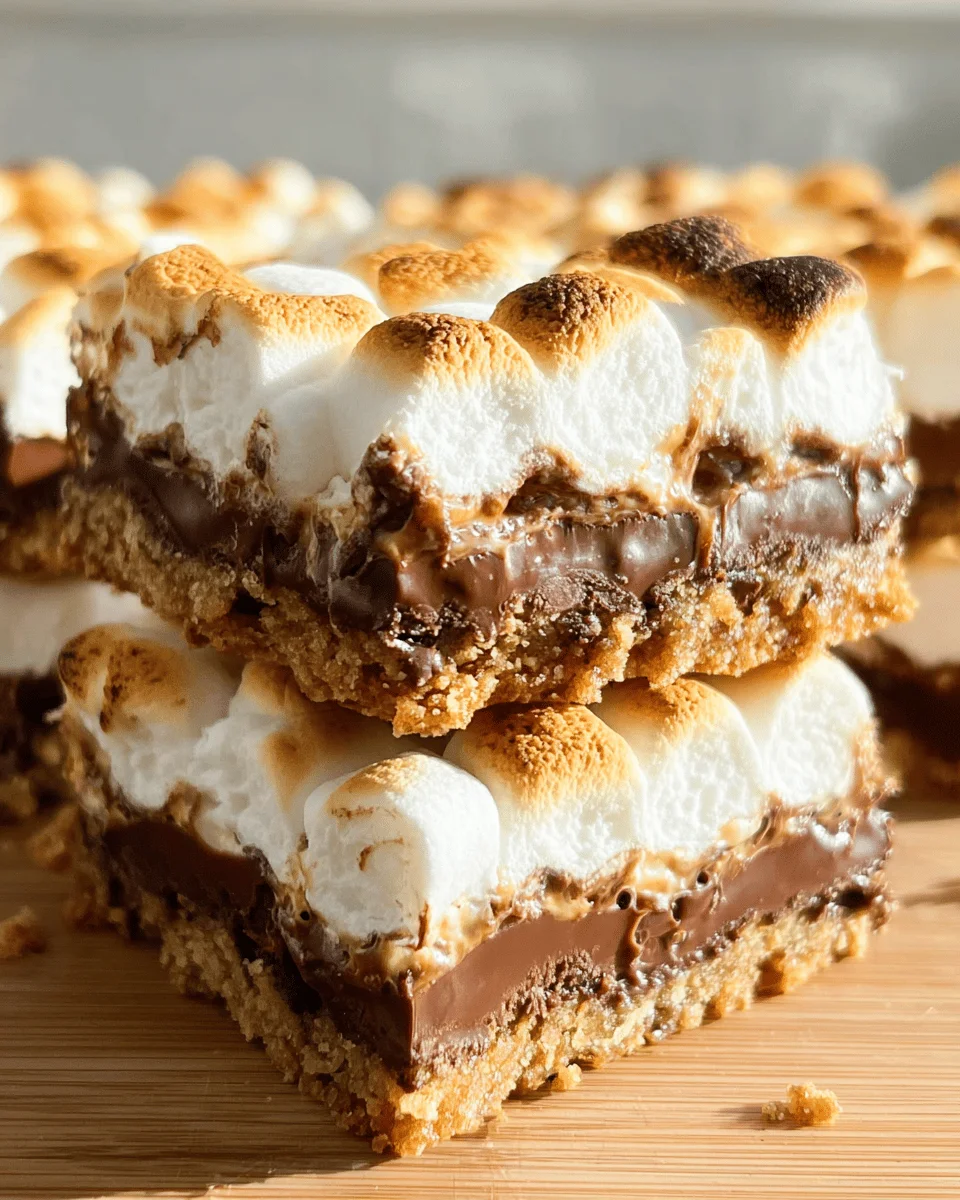
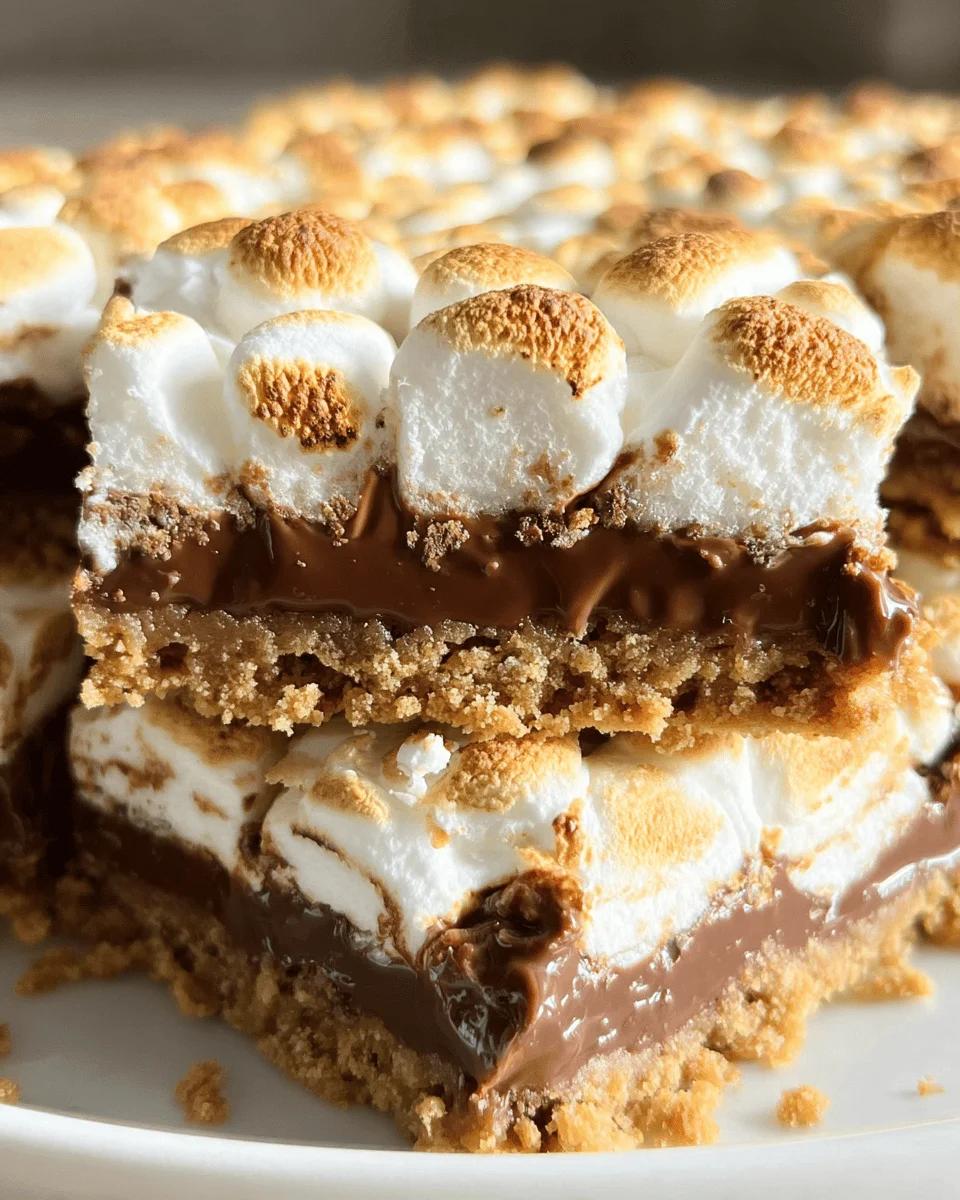
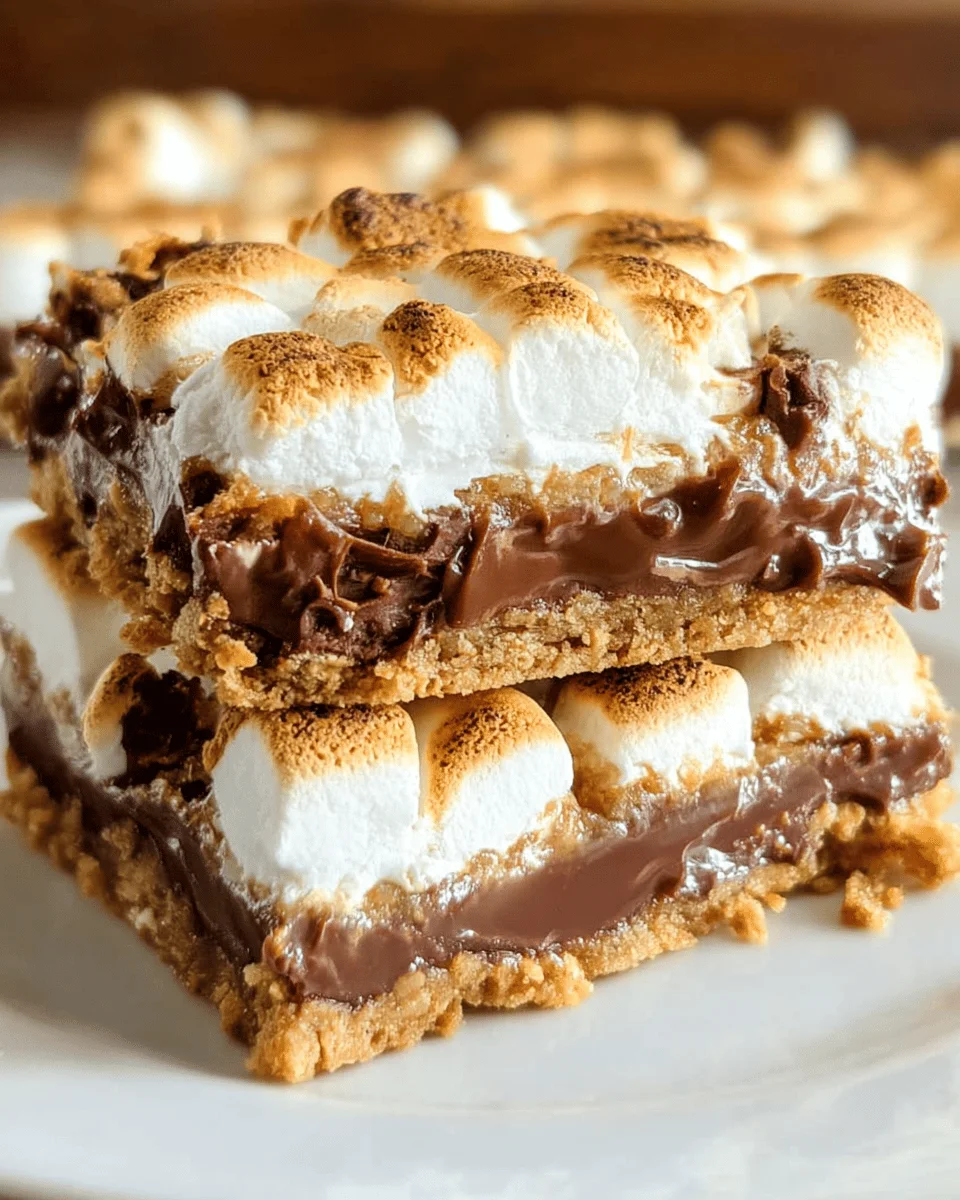
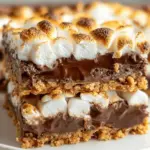
S’mores Bars
Every bite of these addictive s’mores bars is filled with gooey marshmallow, melted chocolate, and crunchy graham crackers. Perfect for parties, family gatherings, or a cozy night in, these treats combine the nostalgic flavors of classic s’mores into an easy-to-make bar form. With minimal effort, you can whip up a batch that will impress friends and delight your taste buds!
Why You’ll Love This Recipe
- Simplicity: Easy to prepare in just 25 minutes, making it perfect for any occasion.
- Delicious Flavor: Combines the rich taste of chocolate with the sweetness of marshmallows and the crunchiness of graham crackers.
- Versatile Serving: Great for dessert tables, picnics, or as a fun treat after dinner.
- Kid-Friendly: Fun to make and even more enjoyable to eat—kids love these bars!
- Customizable: Feel free to add nuts, caramel, or your favorite candies to personalize your bars.
Tools and Preparation
To make these s’mores bars, you’ll need a few essential kitchen tools that will help streamline the process.
Essential Kitchen Tools
- Non-stick butter spray
- 9 x 13-inch baking pan
- Medium bowl
- Spoon or spatula
Why These Tools Matter
- Non-stick butter spray: Ensures that your s’mores bars come out cleanly from the pan without sticking.
- Baking pan: A standard size allows for even baking and makes cutting the bars easy.
- Medium bowl: Perfect for mixing ingredients without making a mess.
- Spoon or spatula: Helps combine ingredients thoroughly and pack them tightly into the baking pan.
Ingredients
Every bite of these addictive s’mores bars is filled with gooey marshmallow, melted chocolate, and crunchy graham crackers.
Ingredients:
– 2 cups graham cracker crumbs
– ½ cup powdered sugar
– 8 to 12 tablespoons butter (melted)
– 4 Hershey’s chocolate bars (4.4-ounce bars)
– 10 ounces mini marshmallows (1 package)
How to Make S’mores Bars
Step 1: Preheat the Oven
Preheat your oven to 350°F. Grease a 9 x 13-inch baking pan with non-stick butter spray to ensure your s’mores bars won’t stick.
Step 2: Prepare the Crust Mixture
In a medium bowl:
1. Mix together the graham cracker crumbs, powdered sugar, and melted butter using a spoon until well combined.
2. Place this mixture in the bottom of the prepared baking pan.
3. Distribute it evenly and press it down firmly with your fingers to pack it along the bottom and sides of the pan.
Step 3: Bake the Crust
Place the pan in the oven and bake for approximately 5 to 8 minutes. Watch closely until the edges start turning golden brown. Once done, remove it from the oven and let it cool slightly.
Step 4: Add Chocolate
Lay the Hershey’s chocolate bars on top of the graham cracker mixture:
1. Cover as much of the crust as possible with chocolate.
2. Return the pan to the oven for about 3 minutes or until the chocolate starts to melt and glisten.
Step 5: Add Marshmallows
After removing from the oven:
1. Let it cool for just 1 to 2 minutes.
2. Pack mini marshmallows tightly on top of the melted chocolate.
Step 6: Broil for Perfection
Turn your oven setting to broil:
1. Place the pan back in and keep a close watch!
2. Broil for about 2 minutes or until they begin to brown lightly—be careful not to overcook!
Step 7: Cool and Serve
Remove from oven:
1. Allow your s’mores bars to cool completely in the pan before cutting into squares.
2. Serve them up and enjoy every gooey bite!
How to Serve S’mores Bars
S’mores bars are a delightful treat that can be enjoyed in various ways. Whether you’re hosting a party or having a cozy night in, these bars are sure to please everyone. Here are some creative serving suggestions to enhance your enjoyment of these sweet treats.
Individual Portions
- Serve each bar cut into squares for easy eating. This makes them perfect for parties and gatherings.
Topped with Ice Cream
- Add a scoop of vanilla or chocolate ice cream on top of a warm s’mores bar. The combination of hot and cold is simply irresistible.
Drizzled with Chocolate Sauce
- Enhance the chocolate flavor by drizzling melted chocolate sauce over the top. This adds an extra layer of decadence.
Served with Fresh Berries
- Pair s’mores bars with fresh strawberries or raspberries for a refreshing contrast. The berries add a nice tartness that balances the sweetness.
With Whipped Cream
- Top your s’mores bars with a generous dollop of whipped cream to make them even more indulgent. This soft texture complements the crispy graham crackers beautifully.
Accompanied by Hot Chocolate
- Serve s’mores bars alongside a warm cup of hot chocolate for the ultimate cozy dessert experience. This pairing is perfect for chilly evenings.
How to Perfect S’mores Bars
To ensure your s’mores bars turn out perfectly every time, follow these helpful tips.
- Use Quality Ingredients – Choose high-quality chocolate and fresh marshmallows for the best flavor and texture.
- Don’t Overbake – Keep an eye on the baking time; removing them from the oven while they’re still slightly soft will result in gooey perfection.
- Pack Firmly – When pressing the graham cracker mixture into the pan, ensure it’s packed tightly to prevent crumbling when cutting.
- Broil Carefully – Broiling marshmallows requires attention. Stay close to avoid burning, as they can brown quickly.
- Cool Completely – Allow the bars to cool fully before cutting; this helps them hold their shape better.
- Experiment with Mix-ins – Feel free to add nuts or other candies to customize your s’mores bars and make them uniquely yours.
Best Side Dishes for S’mores Bars
S’mores bars can be complemented with several delicious side dishes that enhance their flavors and create a delightful dessert spread. Here are some great options to consider:
- Fresh Fruit Salad – A mix of seasonal fruits adds brightness and freshness, balancing the richness of the s’mores bars.
- Chocolate Dipped Strawberries – These treats echo the chocolate in s’mores bars while adding elegance to your dessert table.
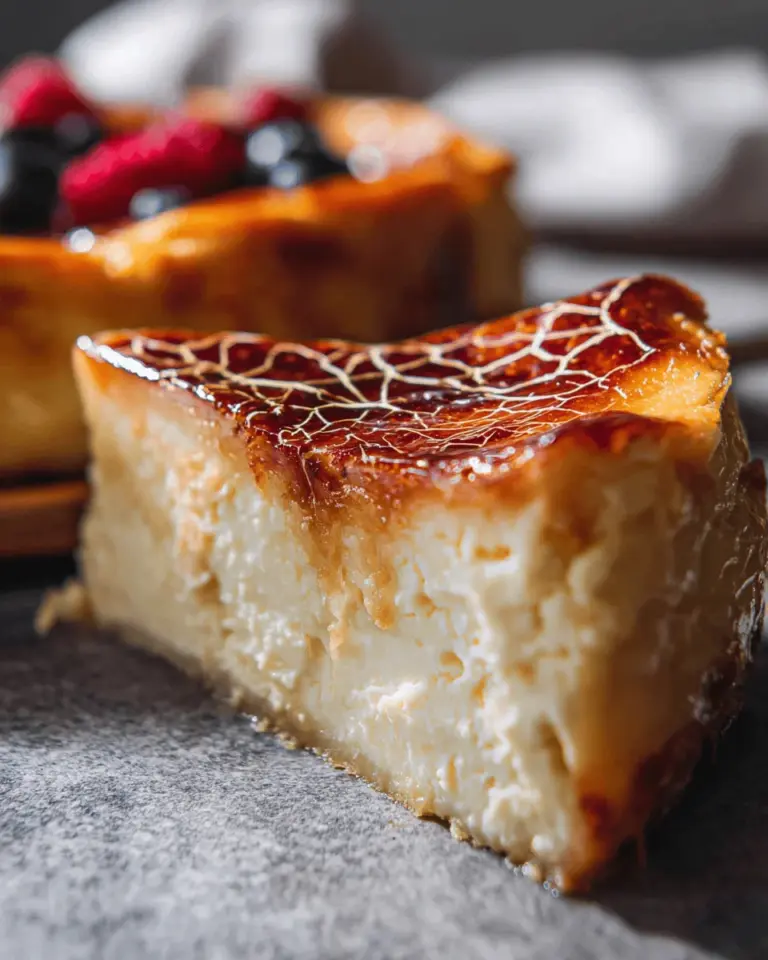
- Mini Cheesecakes – Individual cheesecakes provide a creamy contrast that pairs well with the crunchy textures of s’mores.
- Brownie Bites – Chewy brownie bites complement the flavors without overwhelming, making for a rich dessert experience.
- Cookies and Cream Ice Cream – The creamy texture and flavor profile echo the s’mores theme while offering something different.
- Pecan Pie Bars – These sweet bars bring in nutty flavors that pair beautifully with chocolate and marshmallow.
By serving these side dishes alongside your s’mores bars, you create an inviting and varied dessert option that everyone will love!
Common Mistakes to Avoid
Making s’mores bars can be simple, but there are common mistakes that can lead to less-than-perfect results. Here are some pitfalls to watch out for:
- Overmixing the crust: Mixing the graham cracker crumbs too much can lead to a dense texture. Combine just until everything is moistened.
- Using stale ingredients: Ensure your graham crackers and marshmallows are fresh for the best flavor and texture. Check expiration dates before starting.
- Skipping the cooling step: Allowing the crust to cool before adding chocolate is essential. It prevents the chocolate from melting too quickly and ensures even distribution.
- Not watching while broiling: The broiling step is quick! Stay close to monitor browning and prevent burning, as it only takes a couple of minutes.
- Cutting bars too soon: Letting your s’mores bars cool completely makes slicing easier and helps maintain their structure.
Refrigerator Storage
- Store s’mores bars in an airtight container.
- They can last up to one week in the refrigerator.
- Make sure they are fully cooled before covering.
Freezing S’mores Bars
- Wrap individual pieces tightly in plastic wrap or aluminum foil.
- Place them in a freezer-safe container or bag for extra protection.
- They can be frozen for up to three months.
Reheating S’mores Bars
- Oven: Preheat your oven to 350°F. Place s’mores bars on a baking sheet and heat for about 5 minutes, just until warm.
- Microwave: Heat one bar at a time on a microwave-safe plate for about 10-15 seconds. Watch closely to avoid melting too much.
- Stovetop: Use a non-stick skillet over low heat. Cover with a lid and heat for 2-3 minutes until warmed through.
Frequently Asked Questions
How do I make my S’mores Bars more chocolaty?
You can add mini chocolate chips on top of the marshmallows before broiling for an extra chocolatey experience.
Can I use different types of chocolate for S’mores Bars?
Absolutely! Feel free to experiment with dark chocolate, milk chocolate, or even white chocolate based on your preference.
Are S’mores Bars gluten-free?
To make gluten-free s’mores bars, use gluten-free graham crackers instead of regular ones.
How long do S’mores Bars last?
S’mores bars will stay fresh in the refrigerator for up to one week and can also be frozen for three months.
Conclusion
These s’mores bars are not only delicious but also incredibly versatile. You can customize them by adding nuts, different types of chocolate, or even fruit! Perfect for any gathering or just a sweet treat at home, you’ll want to try this easy recipe.
S’mores Bars
Indulge in the delightful experience of homemade S’mores Bars, a perfect treat that combines the nostalgic flavors of traditional s’mores into a convenient, easy-to-make bar form. Each bite is a heavenly mix of gooey marshmallows, rich melted chocolate, and crunchy graham crackers, creating an irresistible dessert that’s ideal for parties, family gatherings, or a cozy night in. With minimal effort and just a few key ingredients, you can whip up a batch that will impress your friends and satisfy your sweet cravings. Whether you’re looking for something fun to make with the kids or a delicious way to end your meal, these S’mores Bars are sure to delight!
- Prep Time: 10 minutes
- Cook Time: 15 minutes
- Total Time: 25 minutes
- Yield: Approximately 12 servings 1x
- Category: Dessert
- Method: Baking
- Cuisine: American
Ingredients
- 2 cups graham cracker crumbs
- ½ cup powdered sugar
- 8 to 12 tablespoons butter (melted)
- 4 chocolate bars (around 4.4 ounces each)
- 10 ounces mini marshmallows
Instructions
- Preheat your oven to 350°F and grease a 9 x 13-inch baking pan with non-stick butter spray.
- In a medium bowl, combine graham cracker crumbs, powdered sugar, and melted butter until well mixed. Press this mixture firmly into the bottom of the prepared pan.
- Bake the crust for 5 to 8 minutes until golden brown, then allow it to cool slightly.
- Layer chocolate bars on top of the crust and return to the oven for about 3 minutes until melted.
- After cooling for a minute or two, pack mini marshmallows tightly over the melted chocolate.
- Broil for about 2 minutes until marshmallows are lightly browned—watch closely!
- Let cool completely before cutting into squares and serving.
Nutrition
- Serving Size: 1 serving
- Calories: 180
- Sugar: 15g
- Sodium: 90mg
- Fat: 8g
- Saturated Fat: 5g
- Unsaturated Fat: 3g
- Trans Fat: 0g
- Carbohydrates: 26g
- Fiber: <1g
- Protein: 2g
- Cholesterol: 15mg