Skip to content
Home
Main Dishes
Desserts & Sweets
Breakfast & Brunch
Appetizers & Snacks
About
Contact
Facebook
Pinterest
Search
Search
Toggle Menu
Home
/
Main Dishes
Main Dishes
Main Dishes
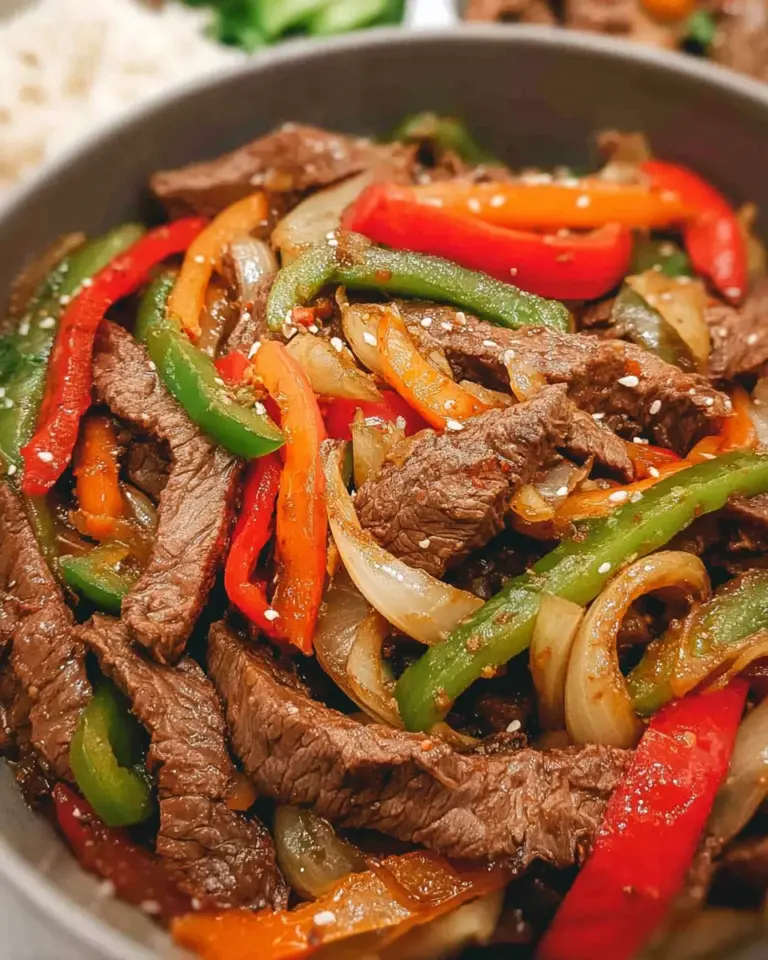
Pepper Steak Stir Fry
Main Dishes
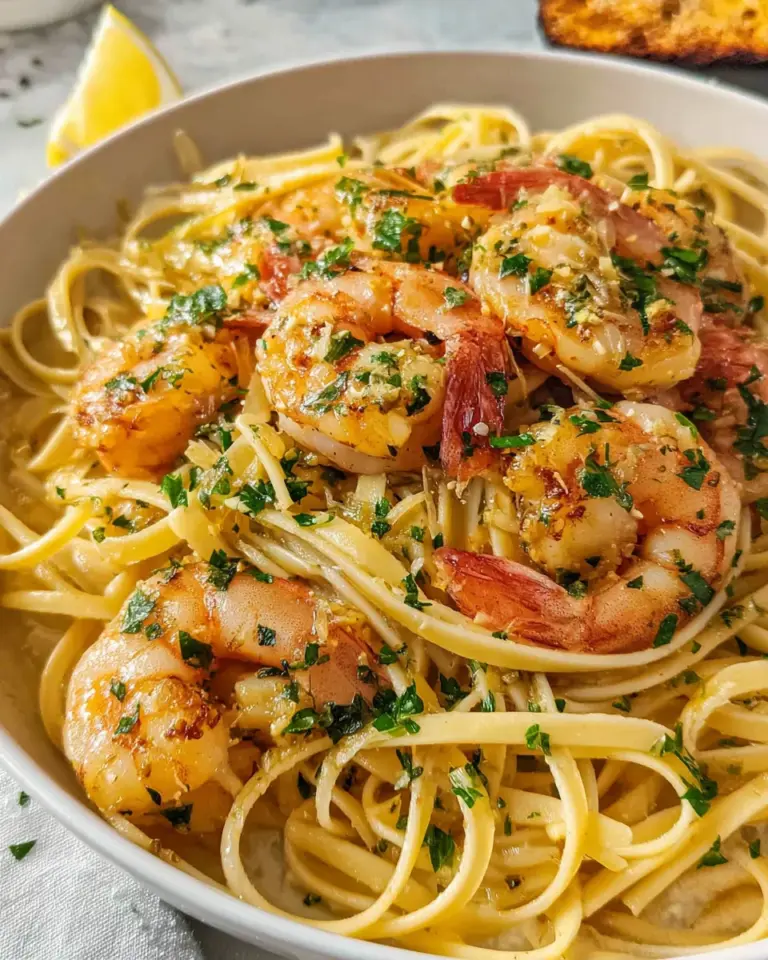
Shrimp Scampi
Main Dishes
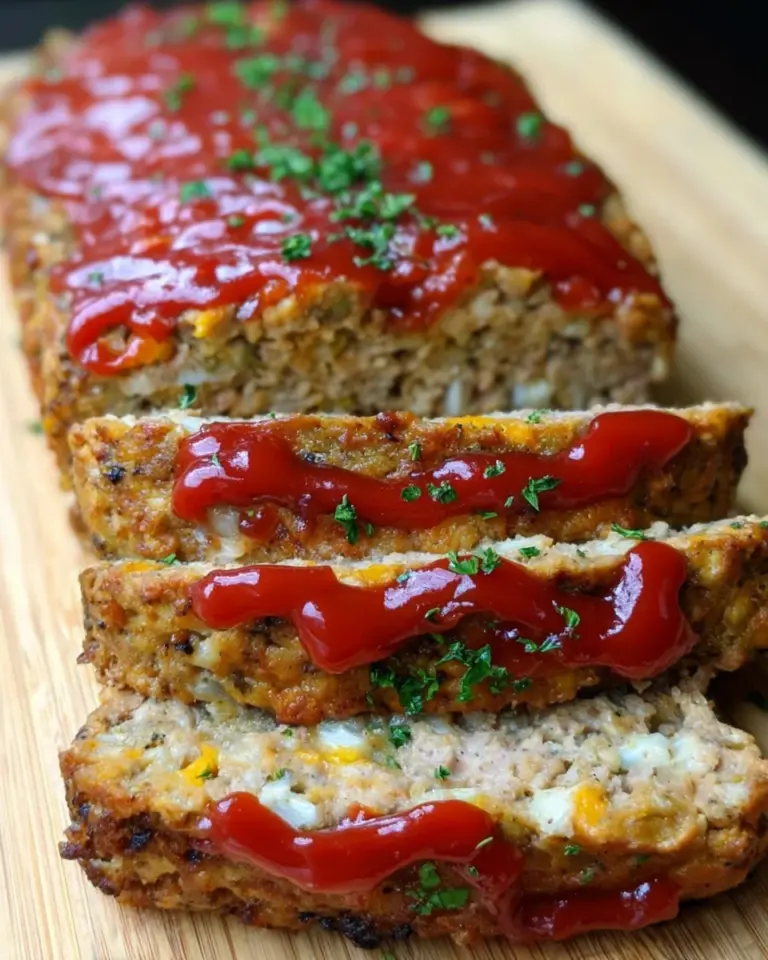
Easy Turkey Meatloaf
Main Dishes
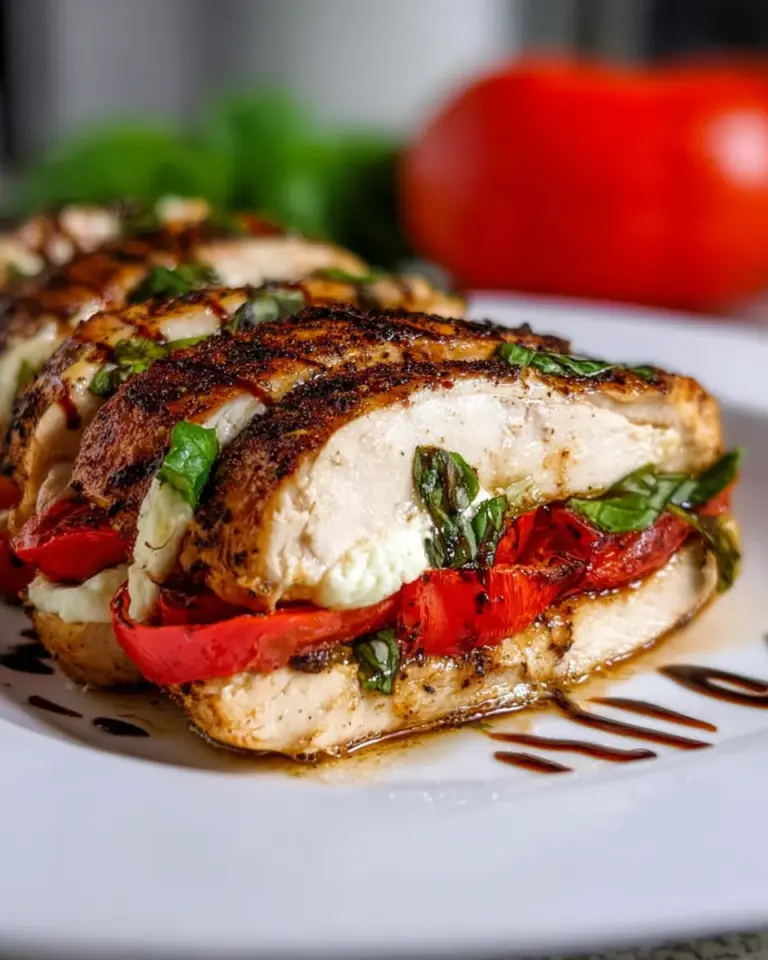
Caprese Stuffed Chicken
Main Dishes
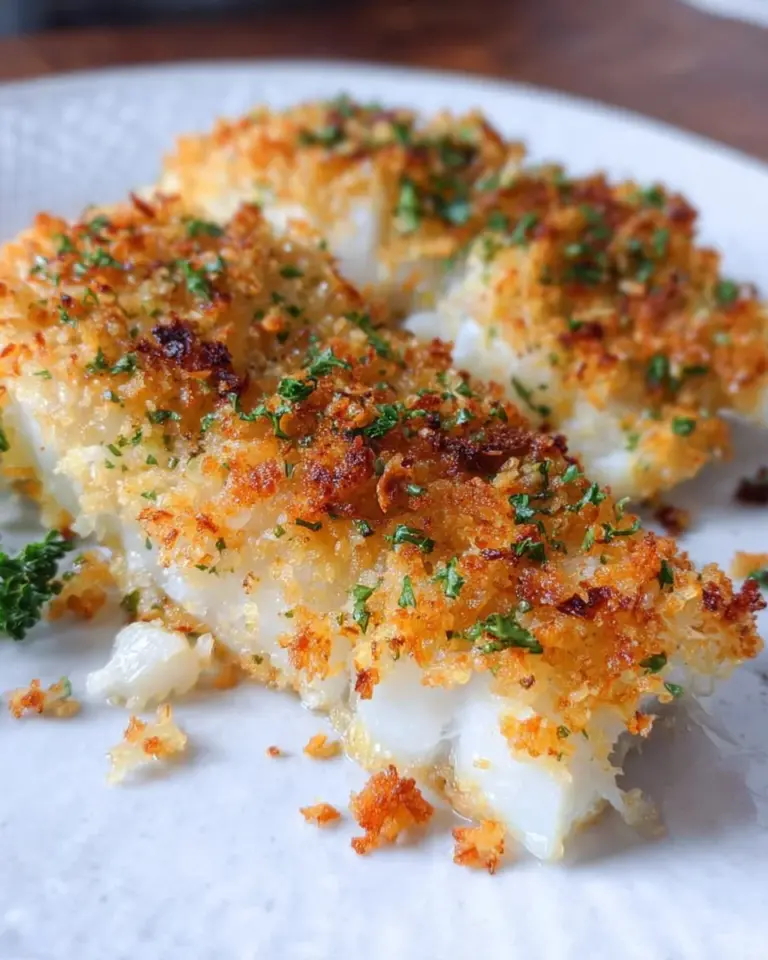
Crispy Parmesan Baked Cod Recipe
Main Dishes
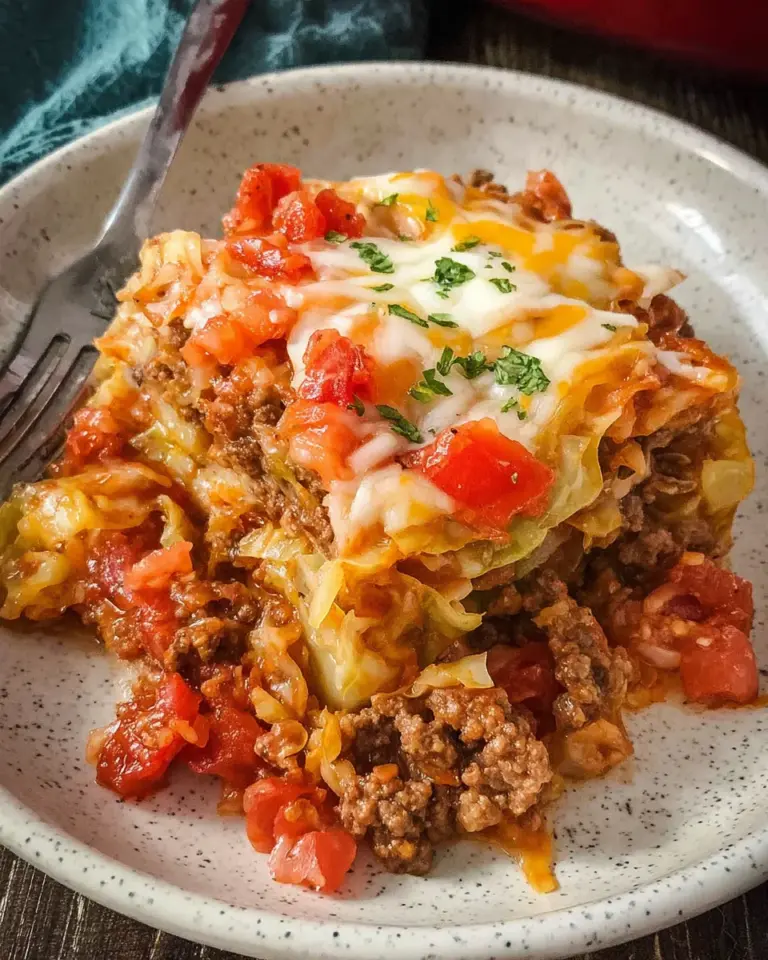
Cabbage Roll Casserole
Main Dishes
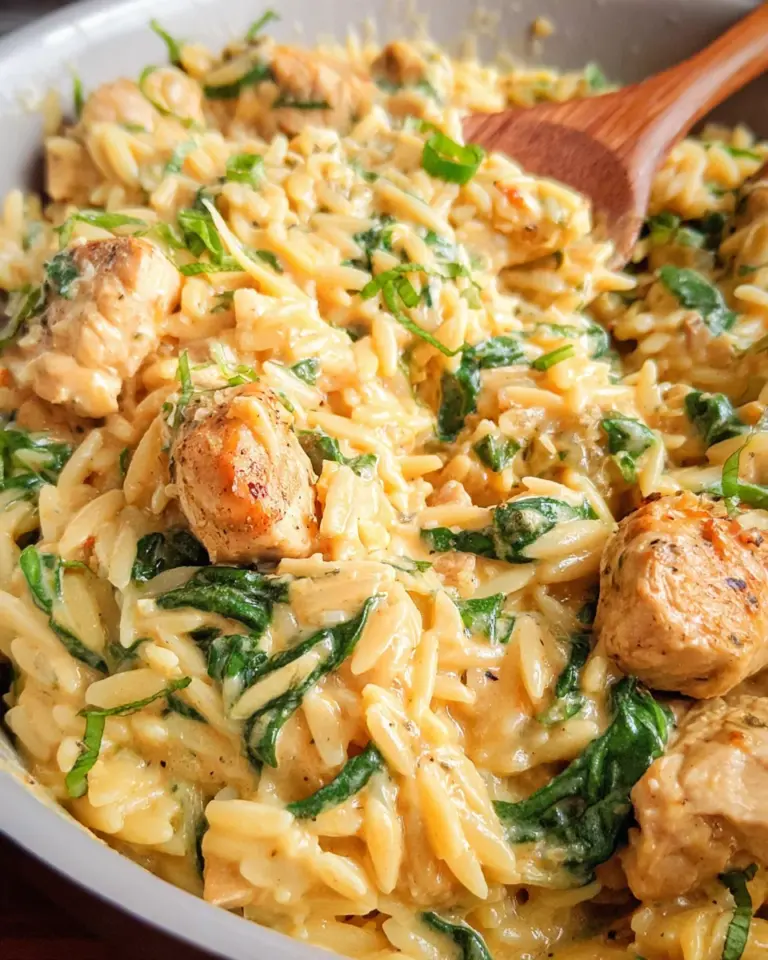
Creamy Chicken Orzo
Main Dishes
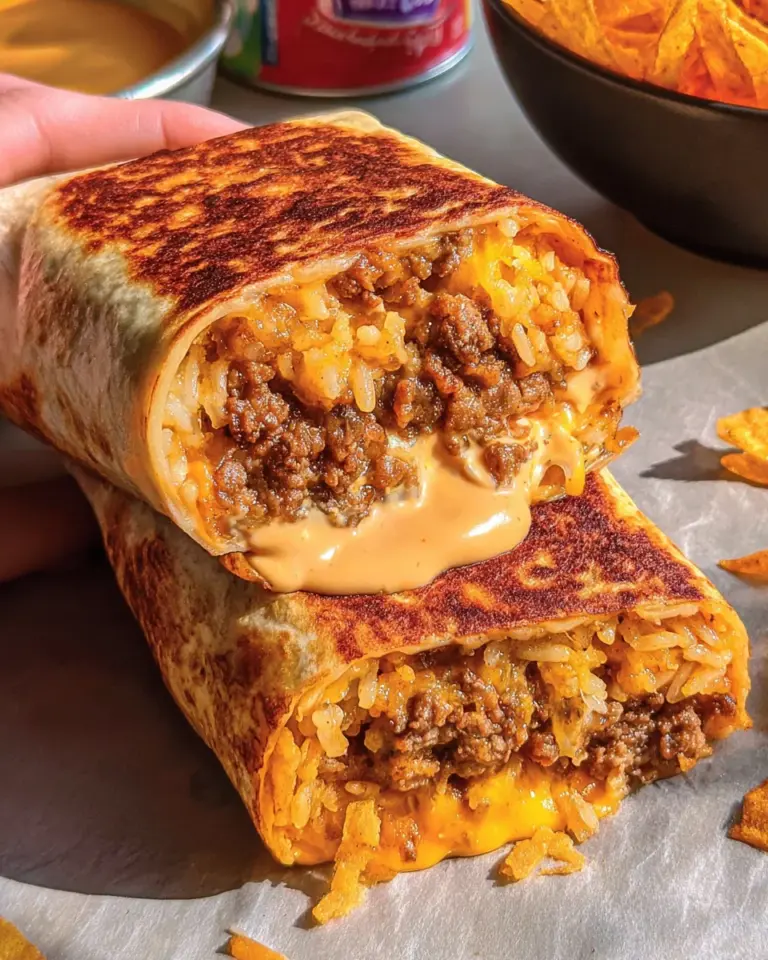
Grilled Cheese Burrito (Taco Bell Copycat Recipe)
Main Dishes
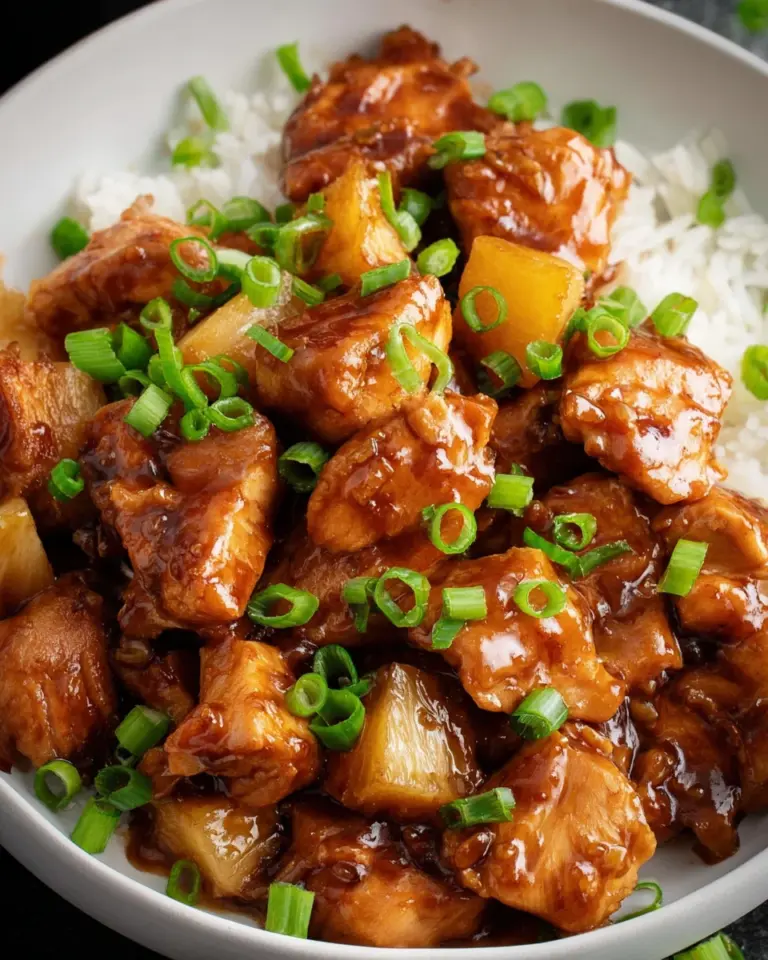
Sweet Hawaiian Crockpot Chicken
Main Dishes
Stove Top Stuffing Meatloaf
Page navigation
1
2
3
…
25
Next Page
Next
Scroll to top
Scroll to top
Home
Main Dishes
Desserts & Sweets
Breakfast & Brunch
Appetizers & Snacks
About
Contact
Toggle Menu Close
Search for:
Search