Skip to content
Home
Main Dishes
Desserts & Sweets
Breakfast & Brunch
Appetizers & Snacks
About
Contact
Facebook
Pinterest
Search
Search
Toggle Menu
Home
/
Desserts & Sweets
Desserts & Sweets
Desserts & Sweets
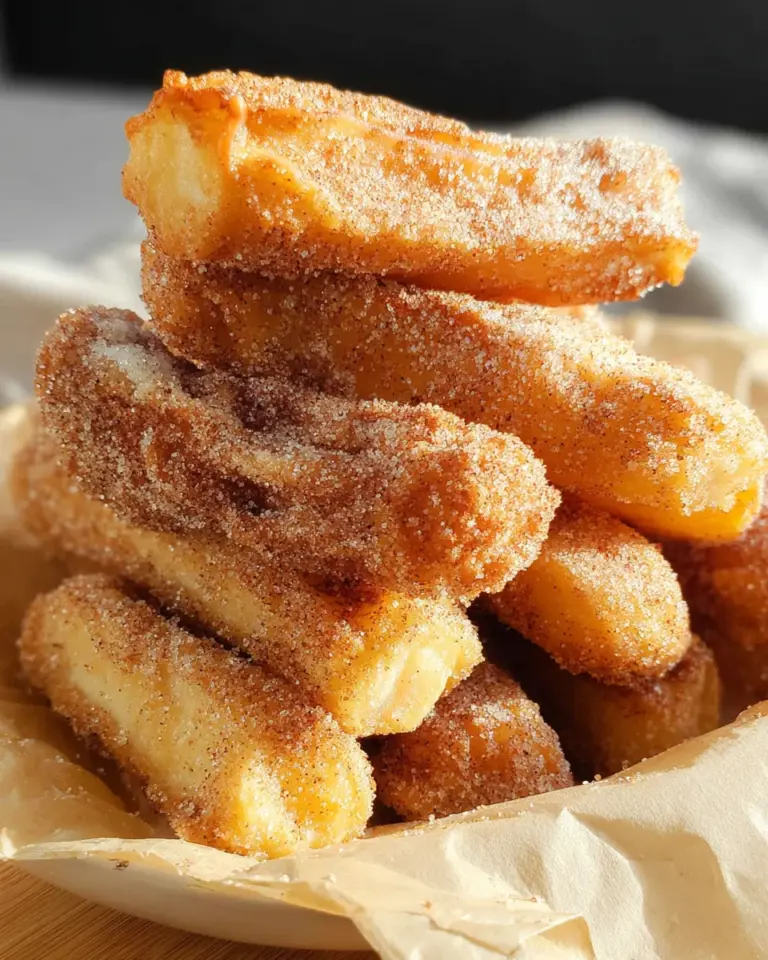
Air Fryer Churros
Desserts & Sweets
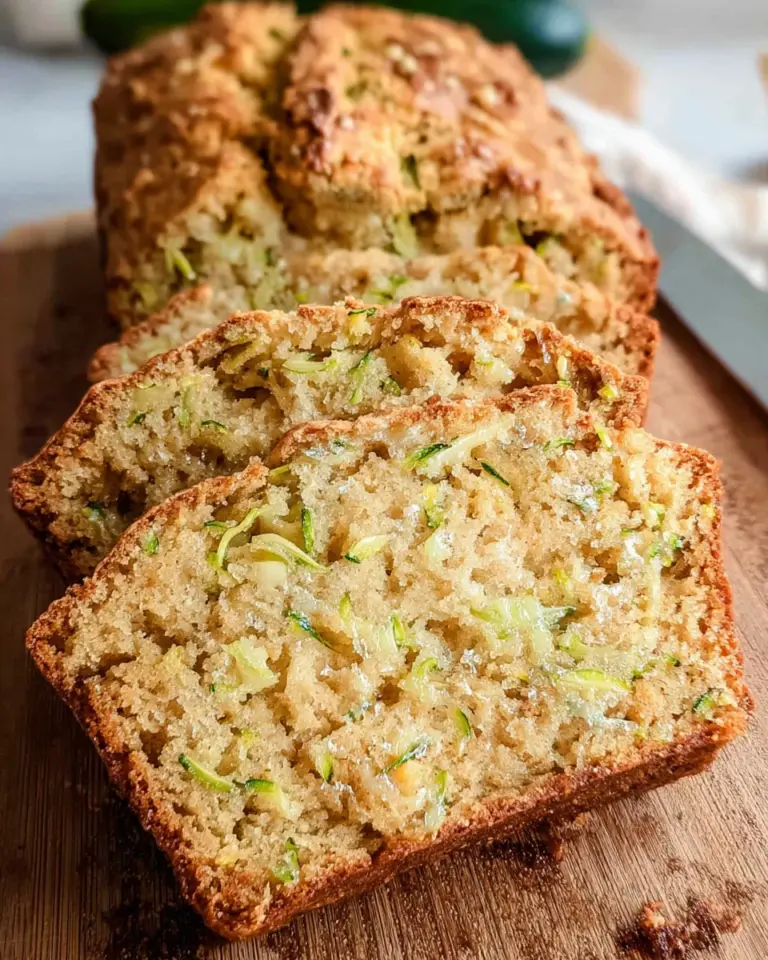
Easy Zucchini Bread
Desserts & Sweets
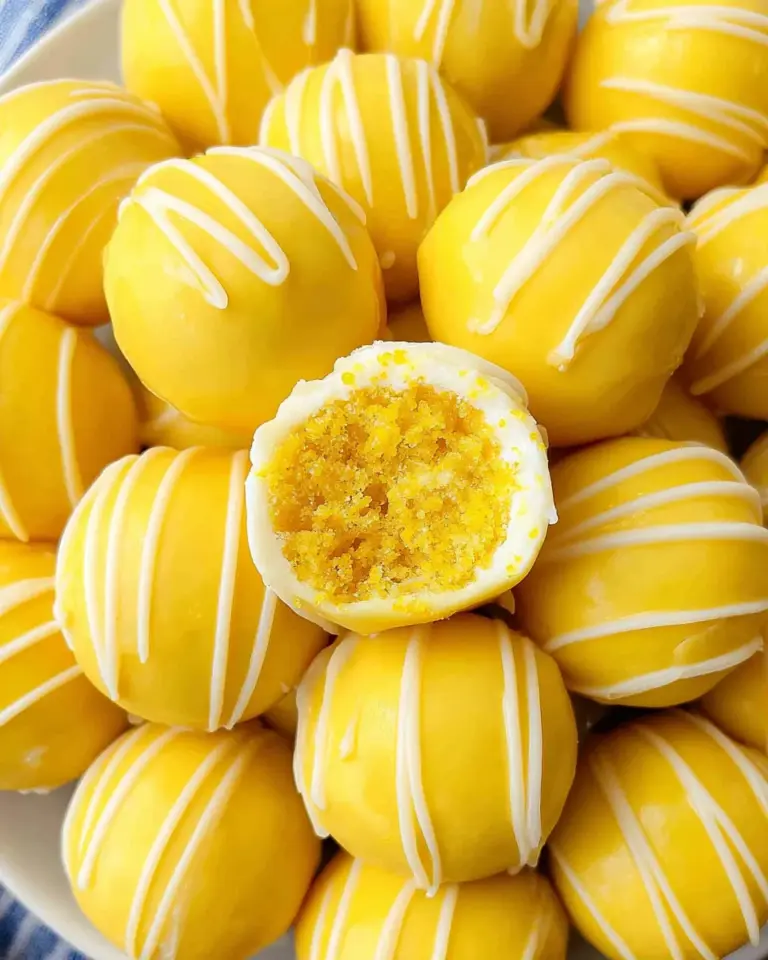
Lemon Cake Balls
Desserts & Sweets
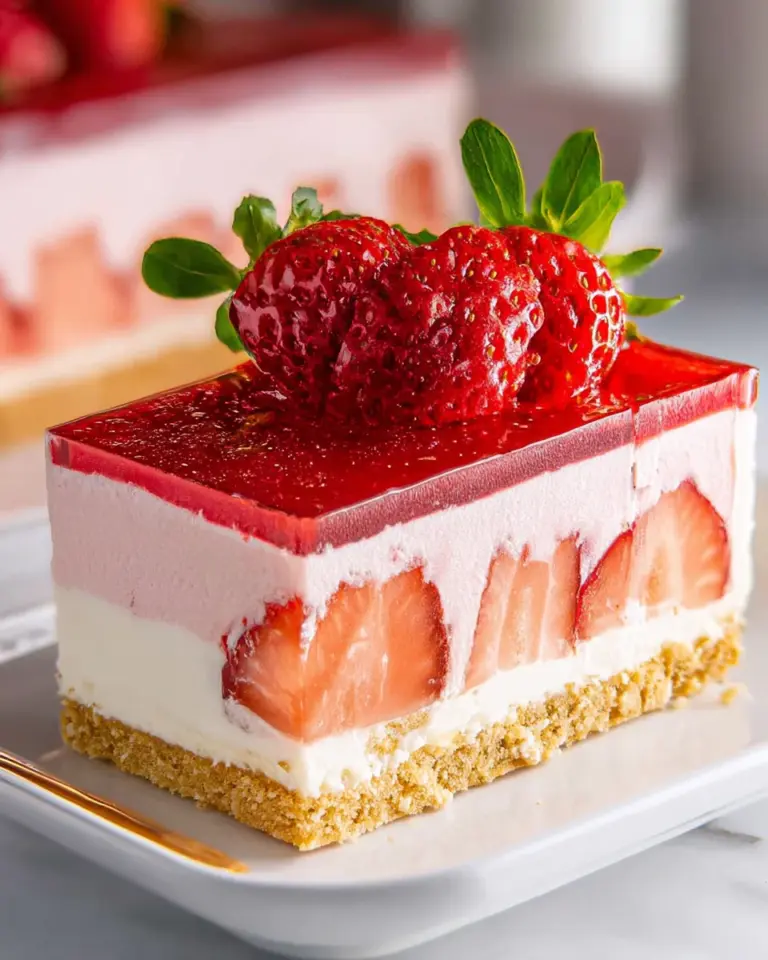
Strawberry Delight
Desserts & Sweets
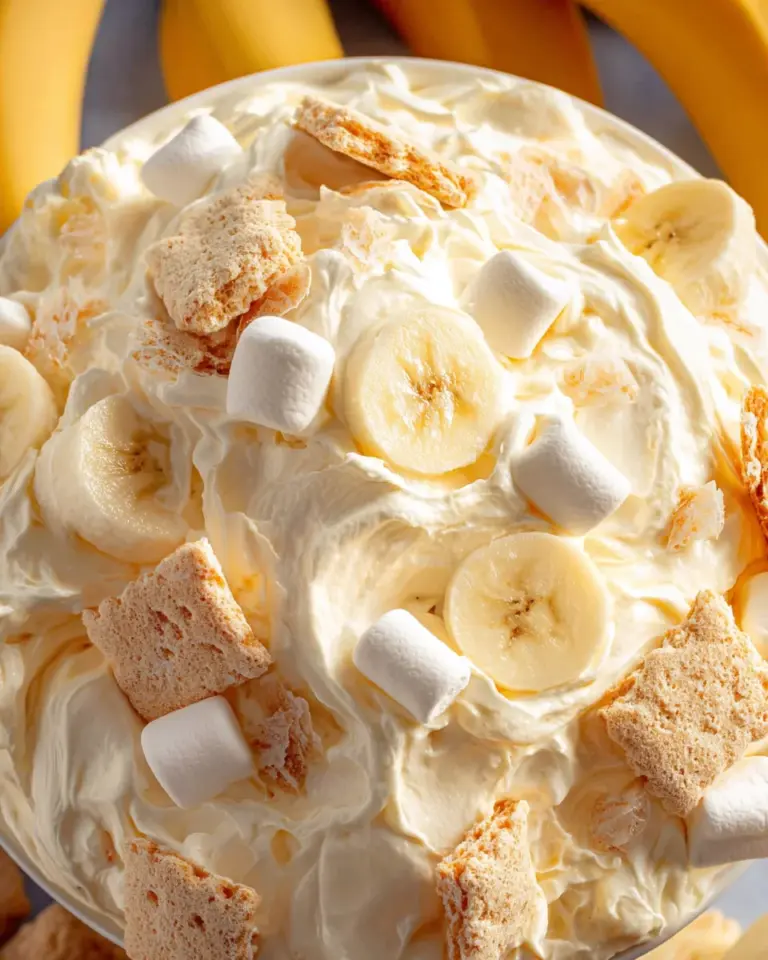
Banana Pudding Fluff
Desserts & Sweets
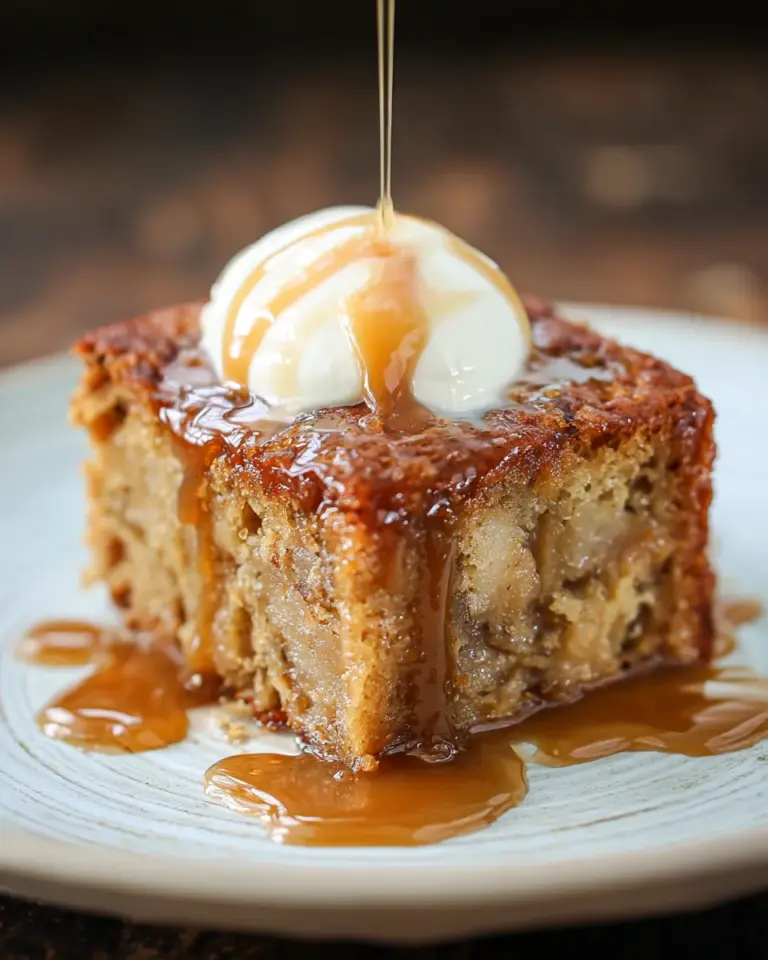
Sticky Banana Bread Pudding Cake
Desserts & Sweets
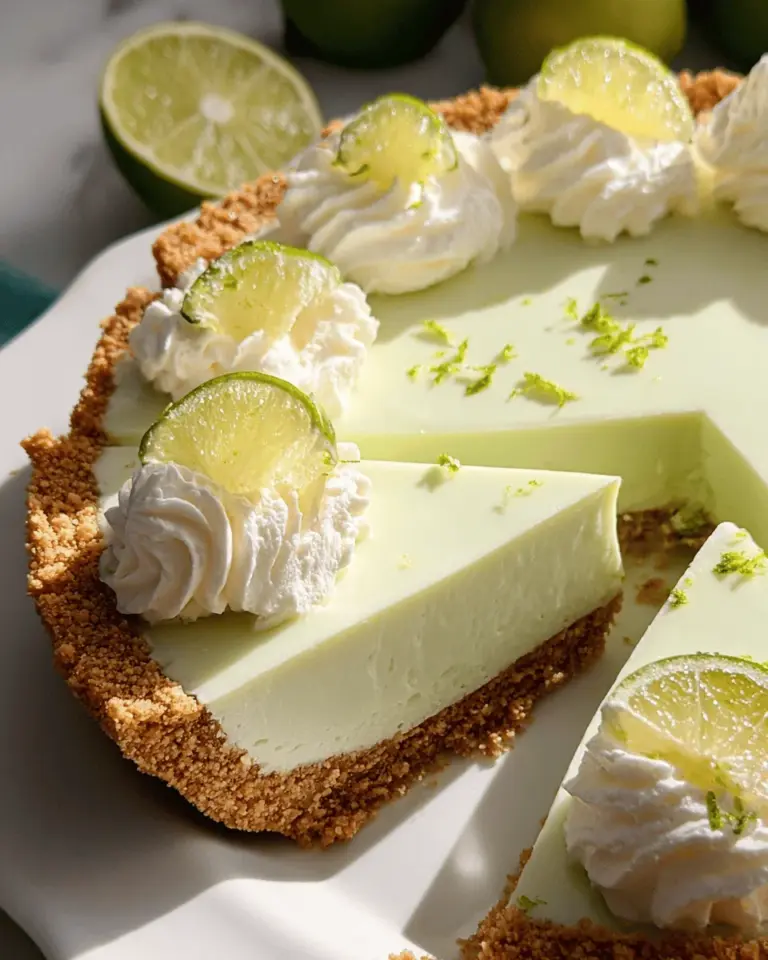
Lime Jello Pie
Desserts & Sweets
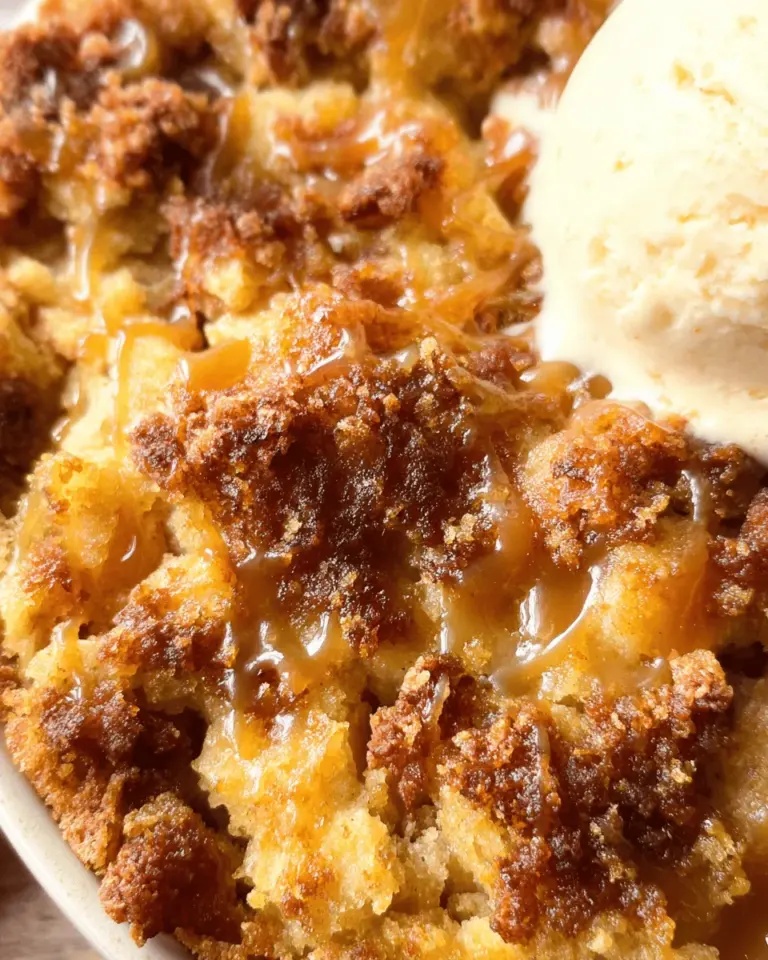
Caramel Apple Dump Cake
Desserts & Sweets
Cherry Cheesecake
Desserts & Sweets
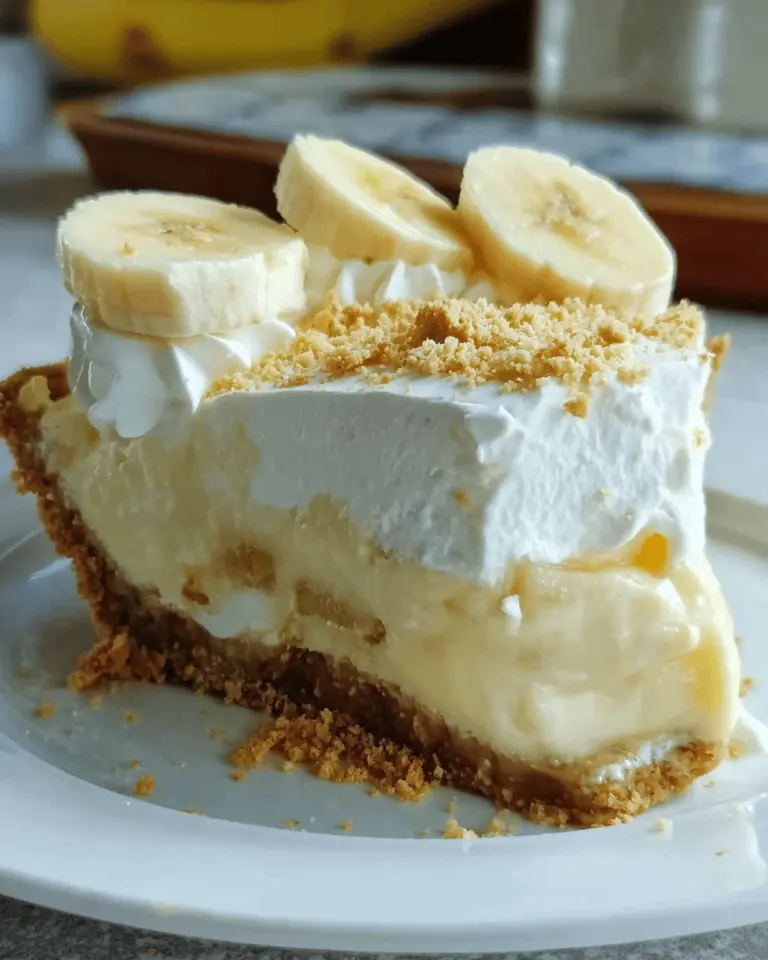
Banana Cream Pie Recipe
Page navigation
1
2
3
…
10
Next Page
Next
Scroll to top
Scroll to top
Home
Main Dishes
Desserts & Sweets
Breakfast & Brunch
Appetizers & Snacks
About
Contact
Toggle Menu Close
Search for:
Search