Skip to content
Home
Main Dishes
Desserts & Sweets
Breakfast & Brunch
Appetizers & Snacks
About
Contact
Facebook
Pinterest
Search
Search
Toggle Menu
Home
/
Breakfast & Brunch
Breakfast & Brunch
Breakfast & Brunch
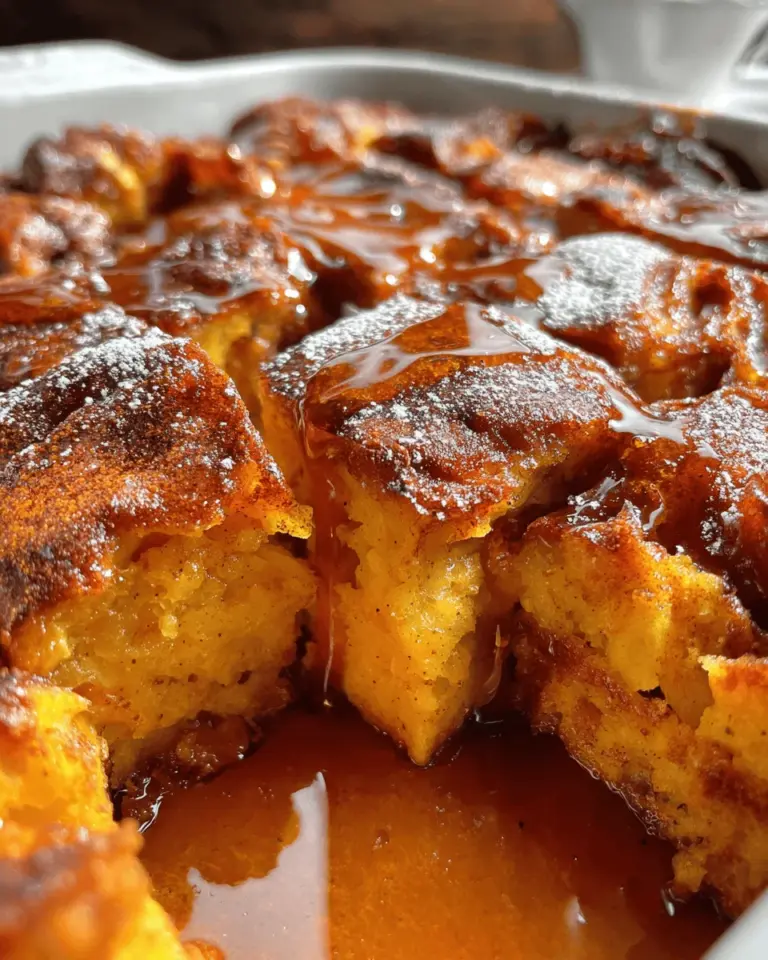
French Toast Casserole Recipe
Breakfast & Brunch
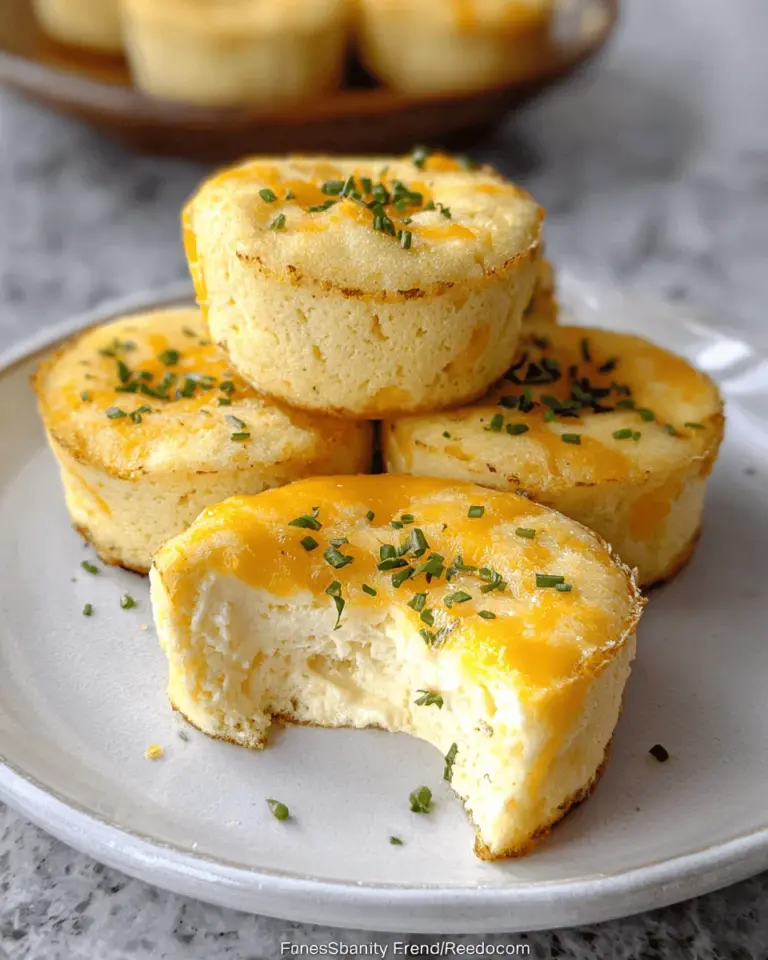
Cottage Cheese Egg Bites
Breakfast & Brunch
Ricotta Pancakes Recipe
Breakfast & Brunch
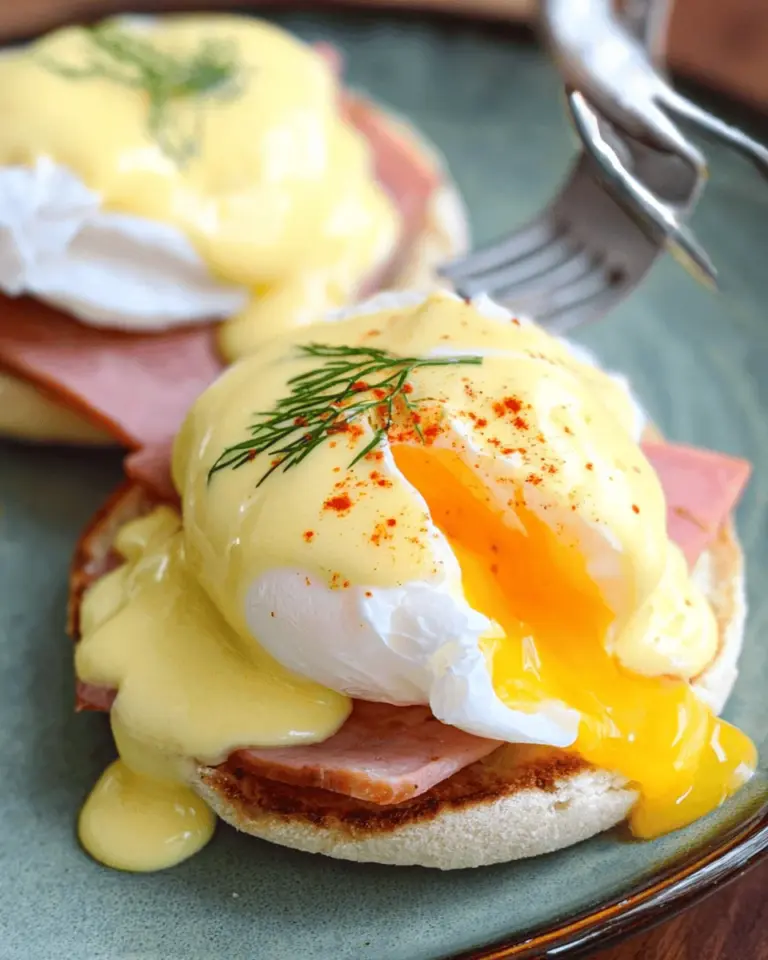
Eggs Benedict Recipe
Breakfast & Brunch
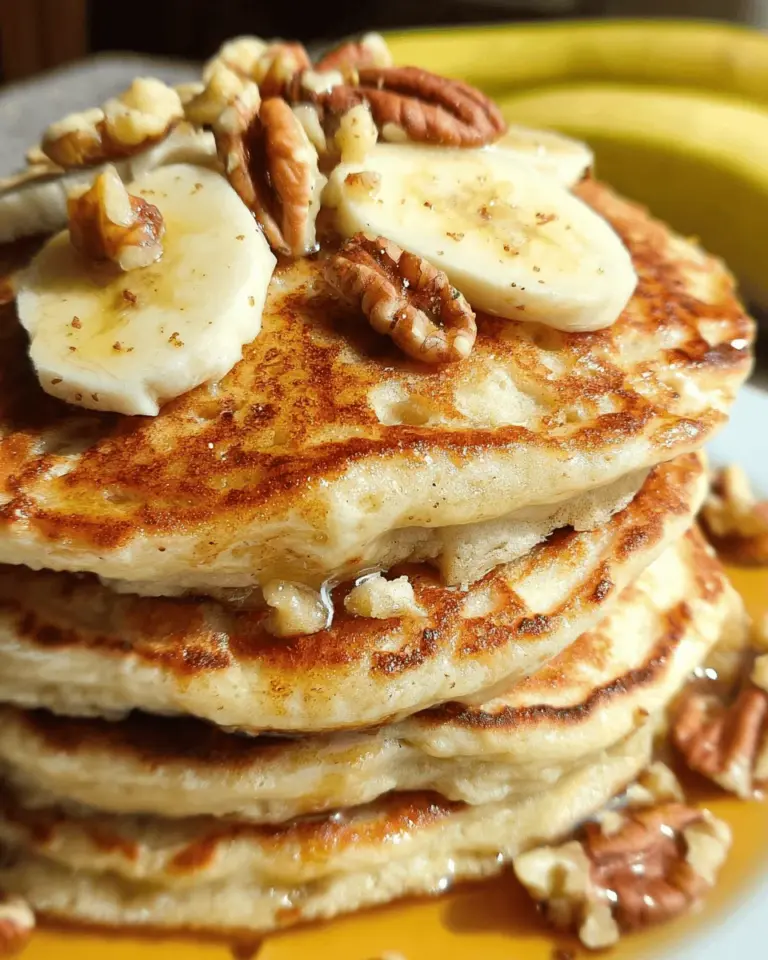
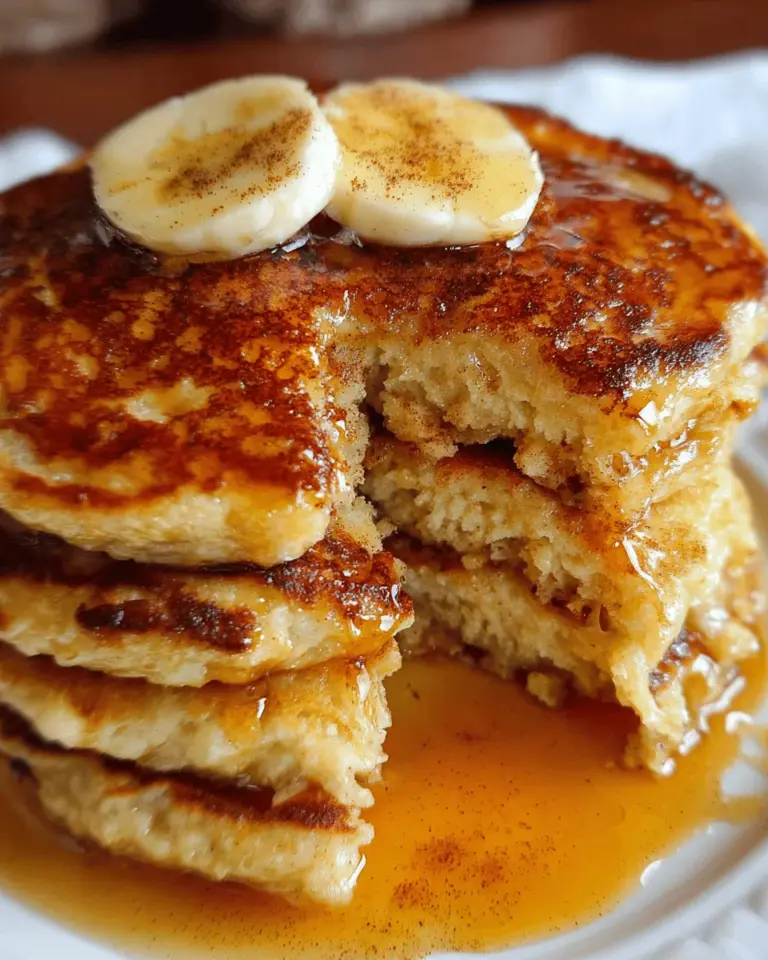
Banana Pancakes Recipe
Breakfast & Brunch
Oatmeal Pancakes – Two Ways
Breakfast & Brunch
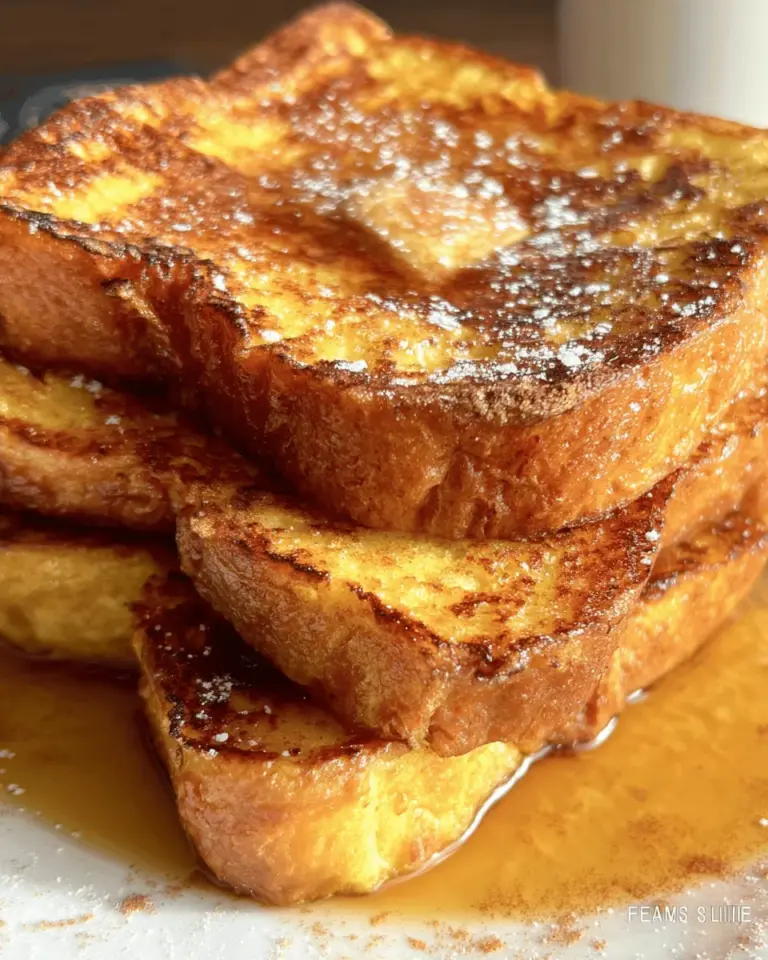
The Best French Toast Recipe
Breakfast & Brunch
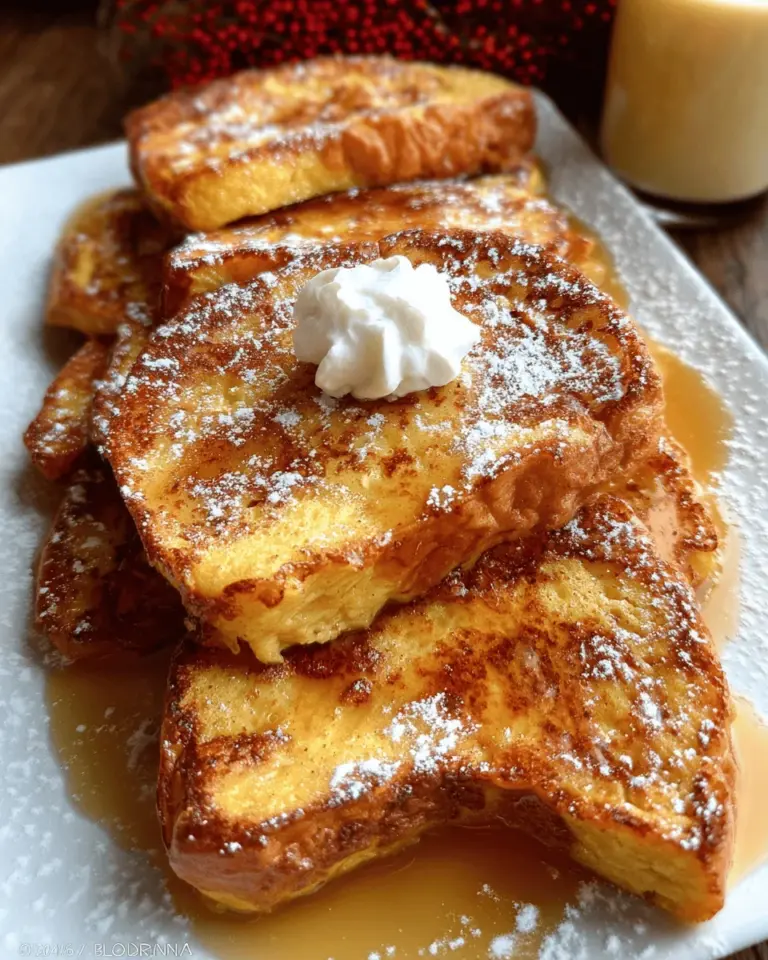
Eggnog French Toast Recipe
Breakfast & Brunch
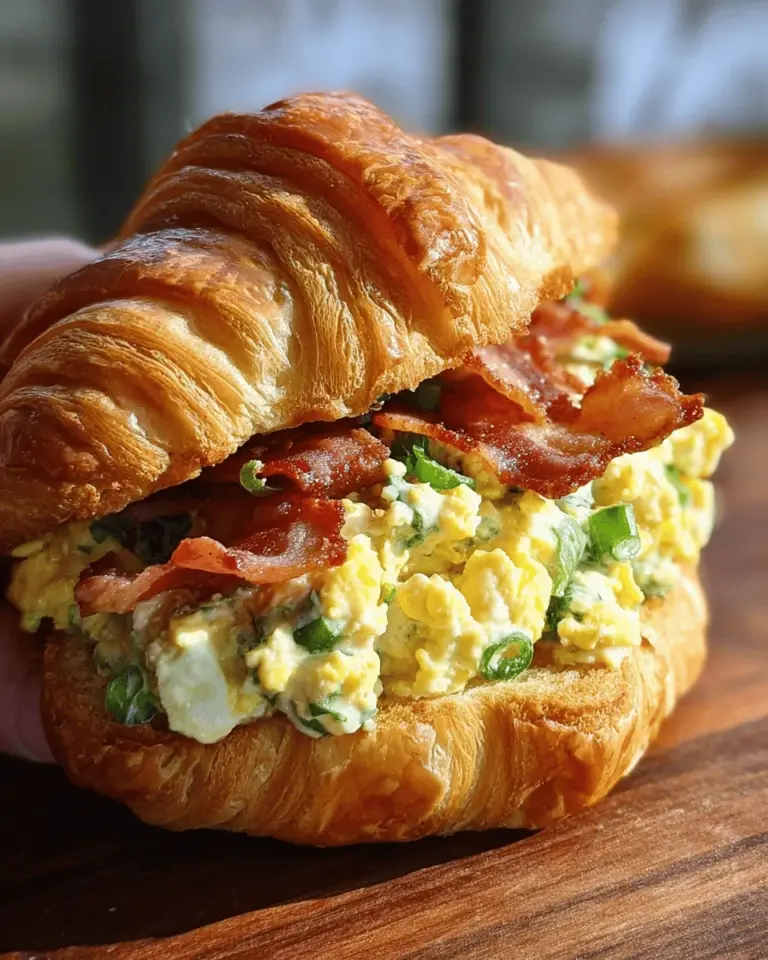
Turkey bacon and Green Onion Egg Salad
Breakfast & Brunch
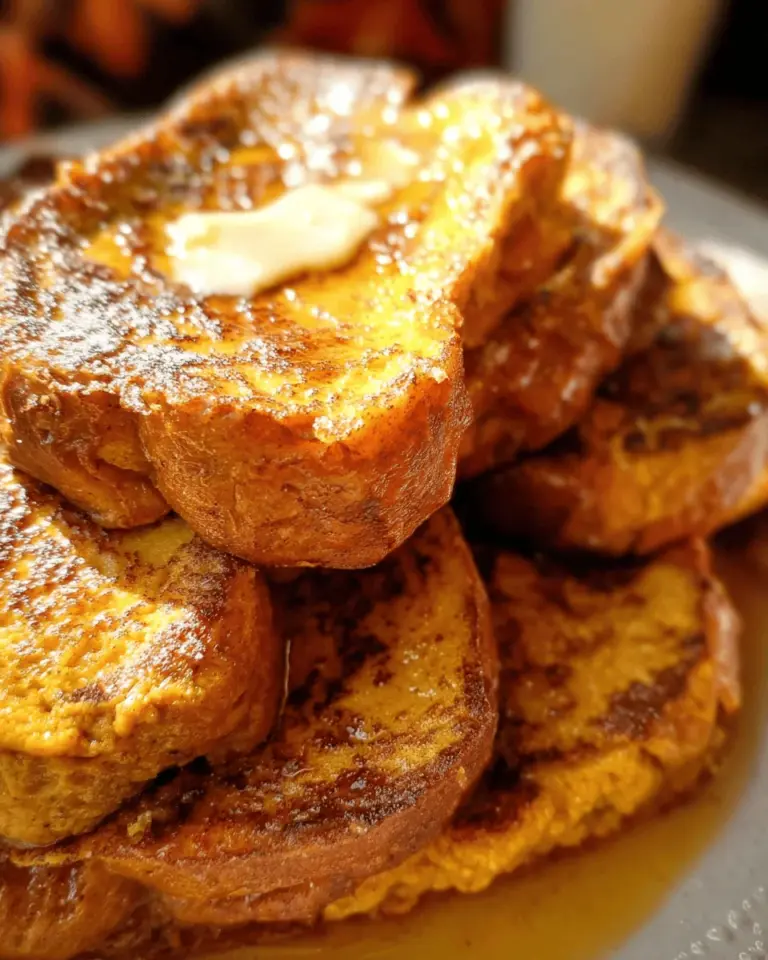
Pumpkin French Toast Recipe
Page navigation
1
2
3
…
5
Next Page
Next
Scroll to top
Scroll to top
Home
Main Dishes
Desserts & Sweets
Breakfast & Brunch
Appetizers & Snacks
About
Contact
Toggle Menu Close
Search for:
Search