Skip to content
Home
Main Dishes
Desserts & Sweets
Breakfast & Brunch
Appetizers & Snacks
About
Contact
Facebook
Pinterest
Search
Search
Toggle Menu
Home
/
Amanda
- Page 2
Author: Amanda
Main Dishes
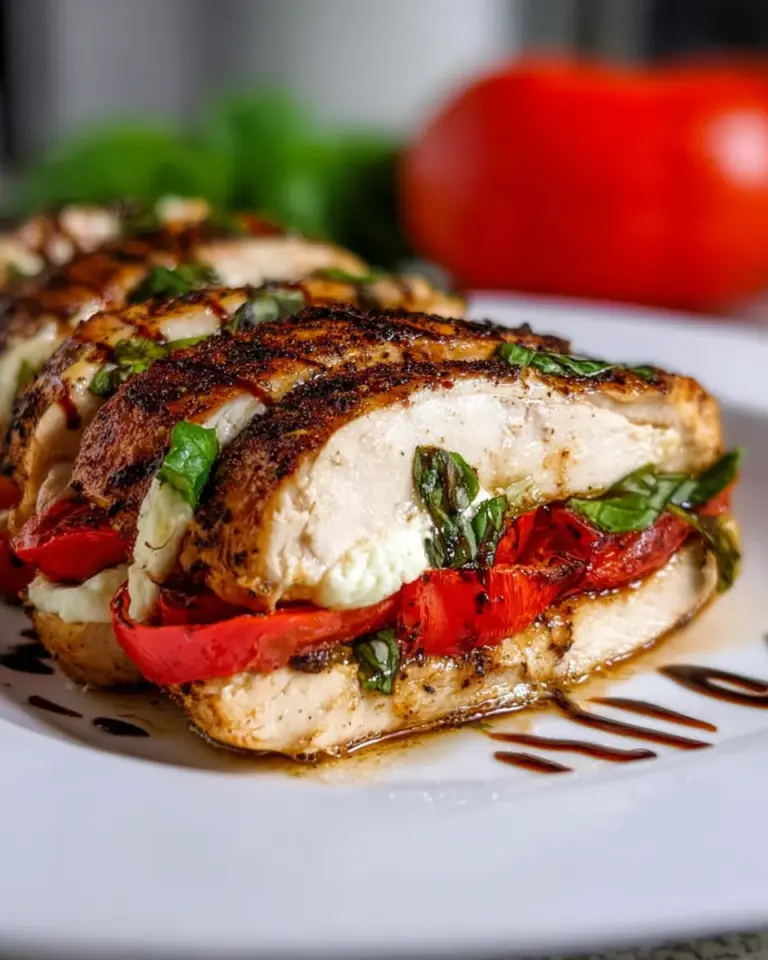
Caprese Stuffed Chicken
Appetizers & Snacks
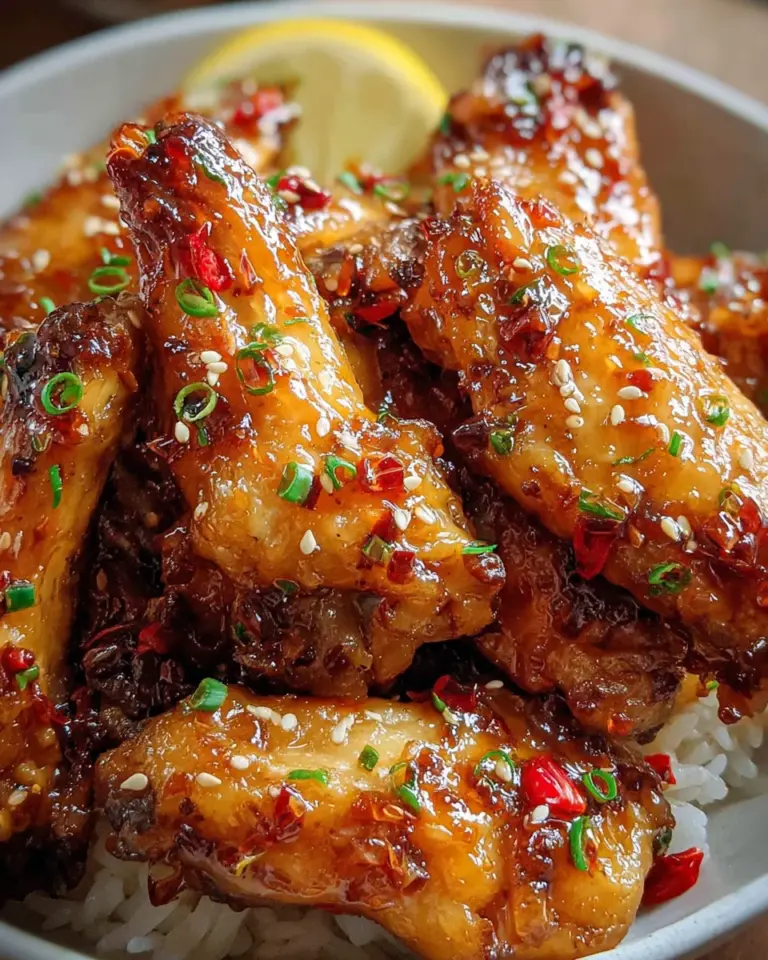
Best Sticky Thai Chicken Wings
Main Dishes
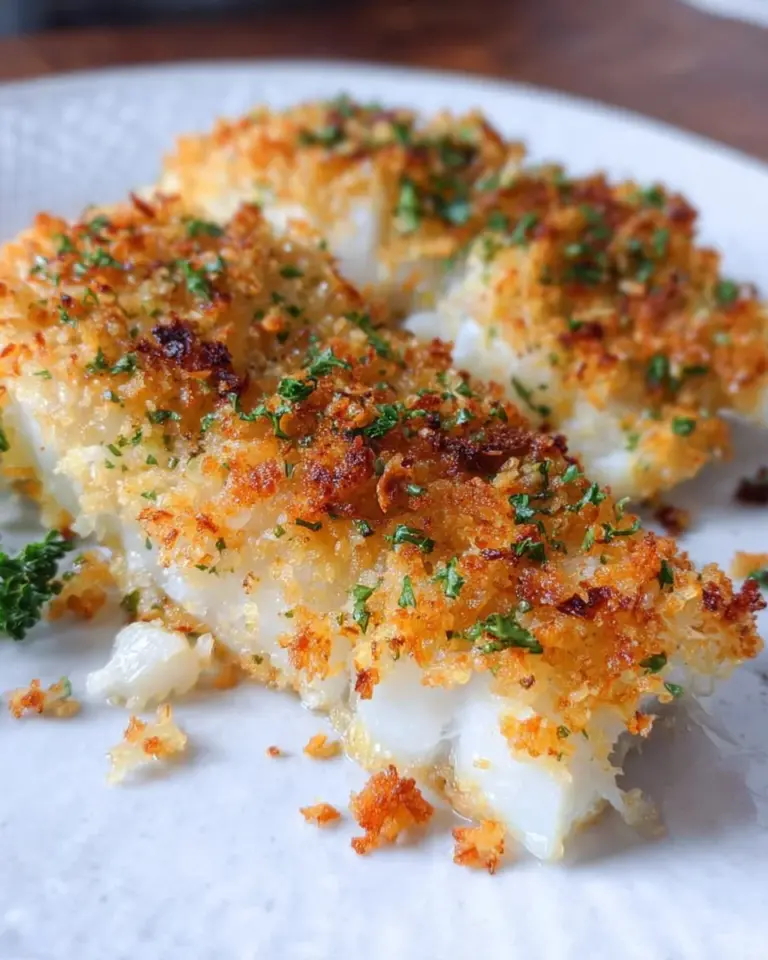
Crispy Parmesan Baked Cod Recipe
Main Dishes
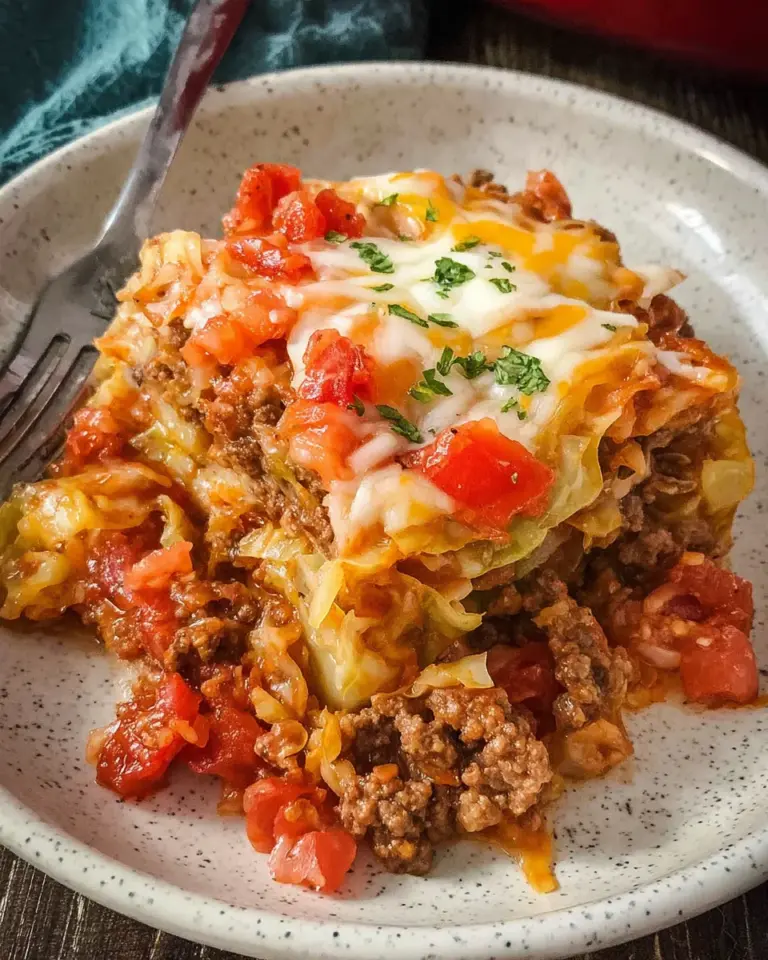
Cabbage Roll Casserole
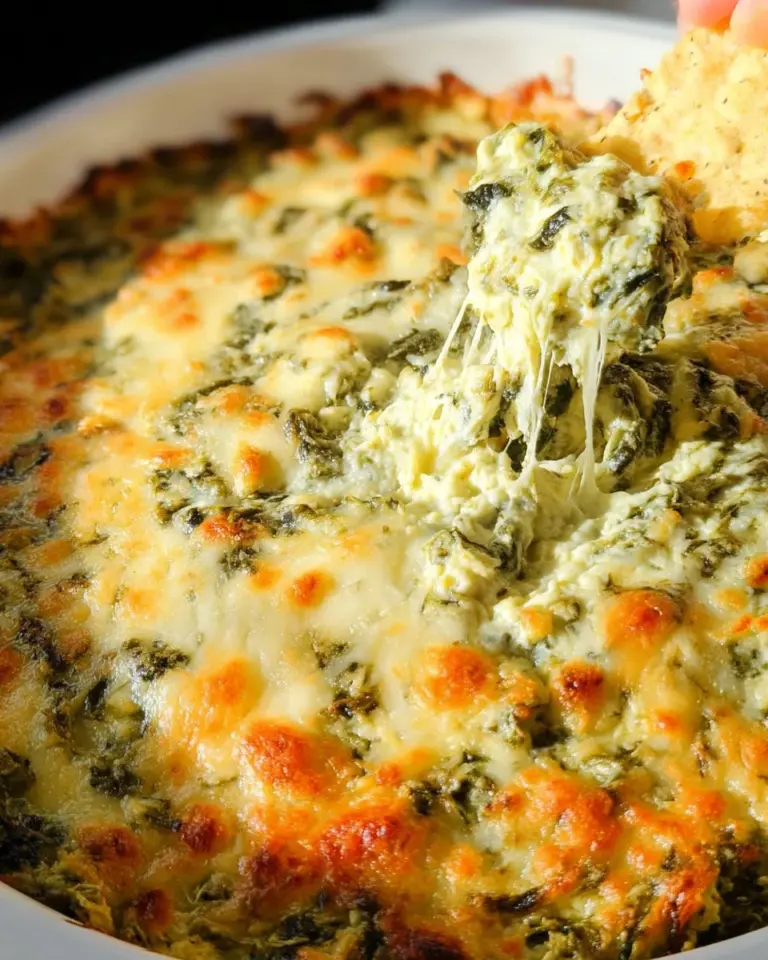
Appetizers & Snacks
Spinach Artichoke Dip
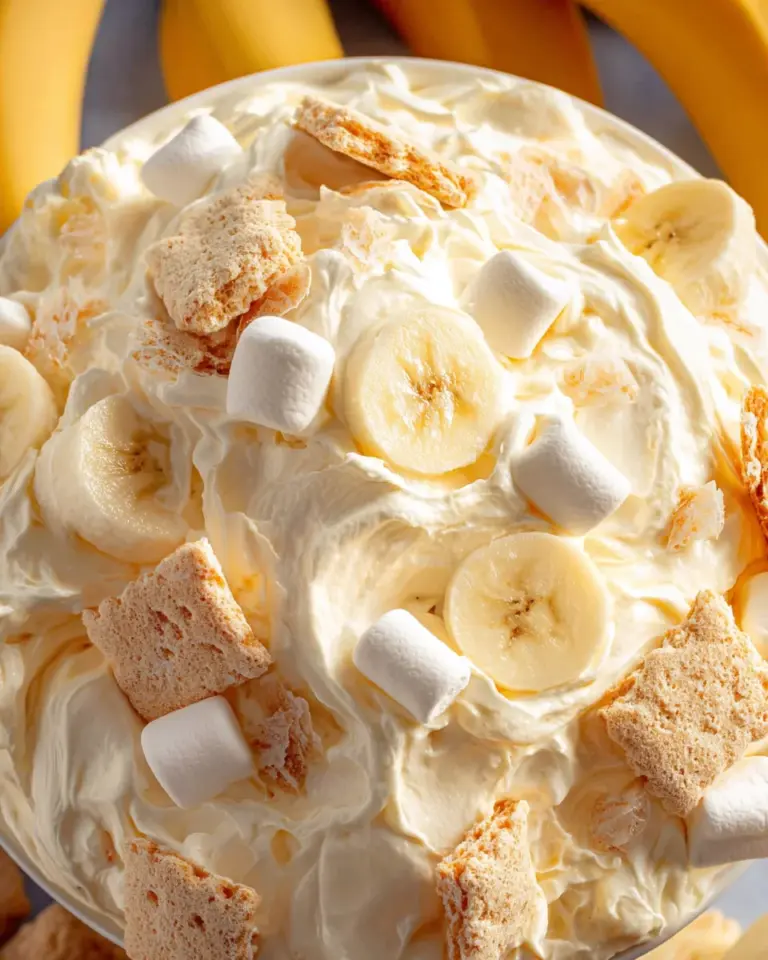
Desserts & Sweets
Banana Pudding Fluff
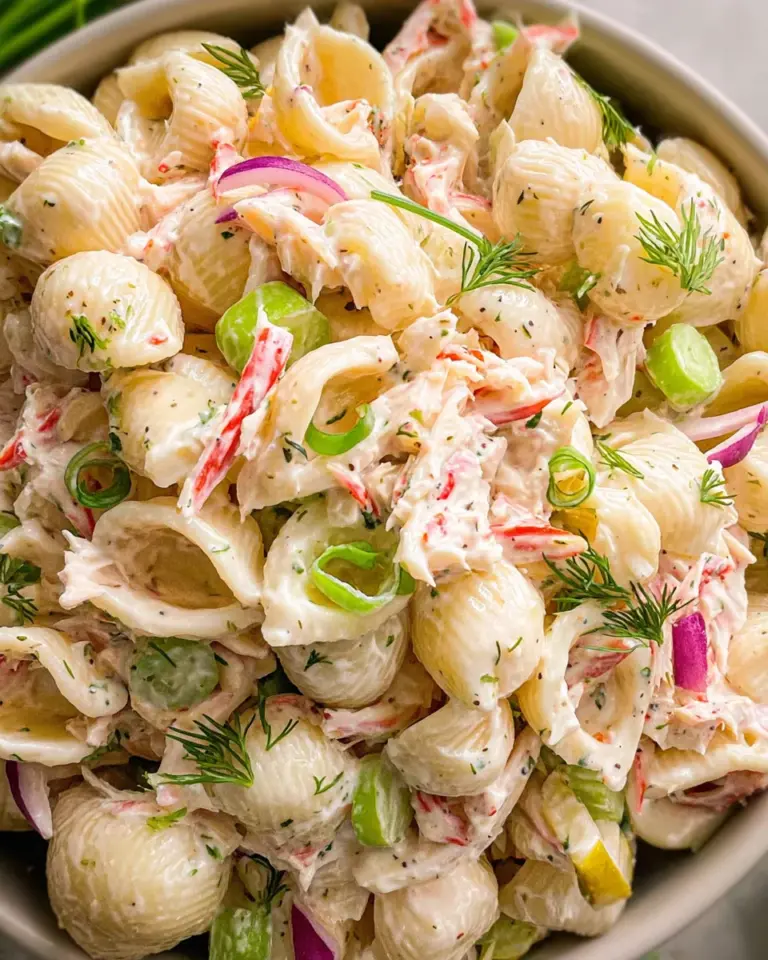
Appetizers & Snacks
Crab Pasta Salad
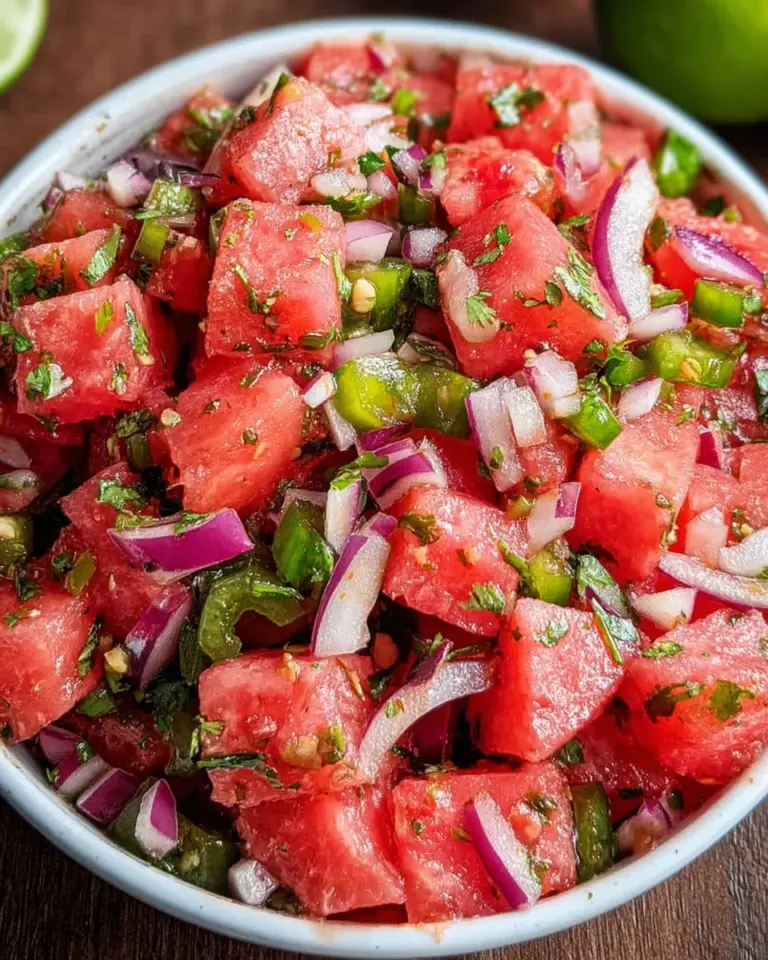
Appetizers & Snacks
Watermelon Salsa
Main Dishes
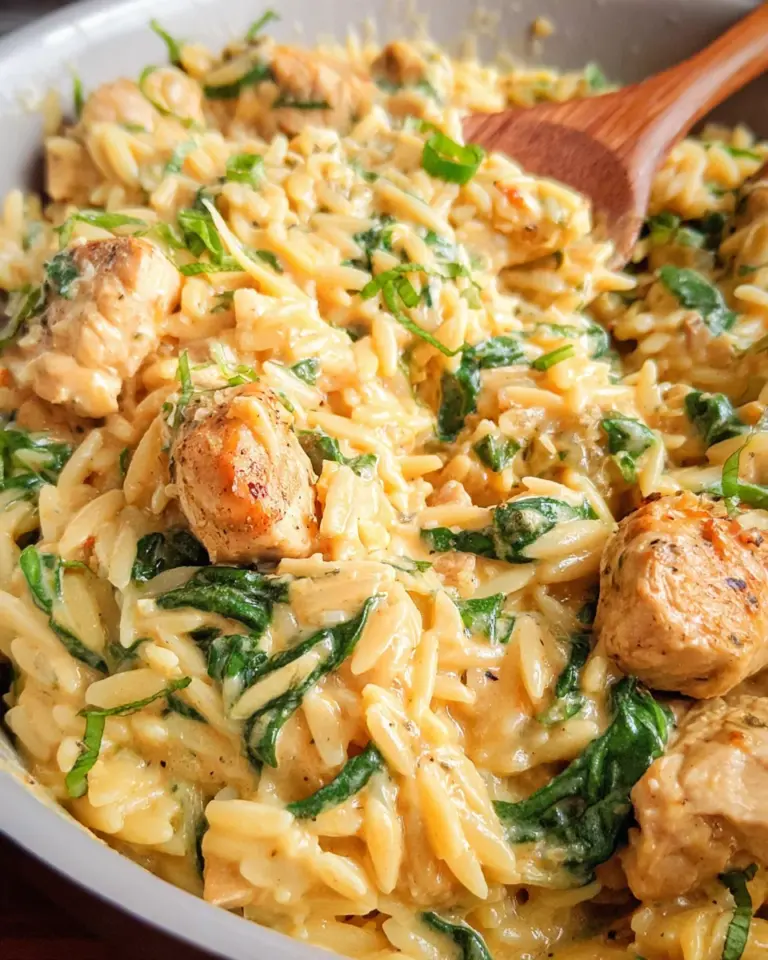
Creamy Chicken Orzo
Main Dishes
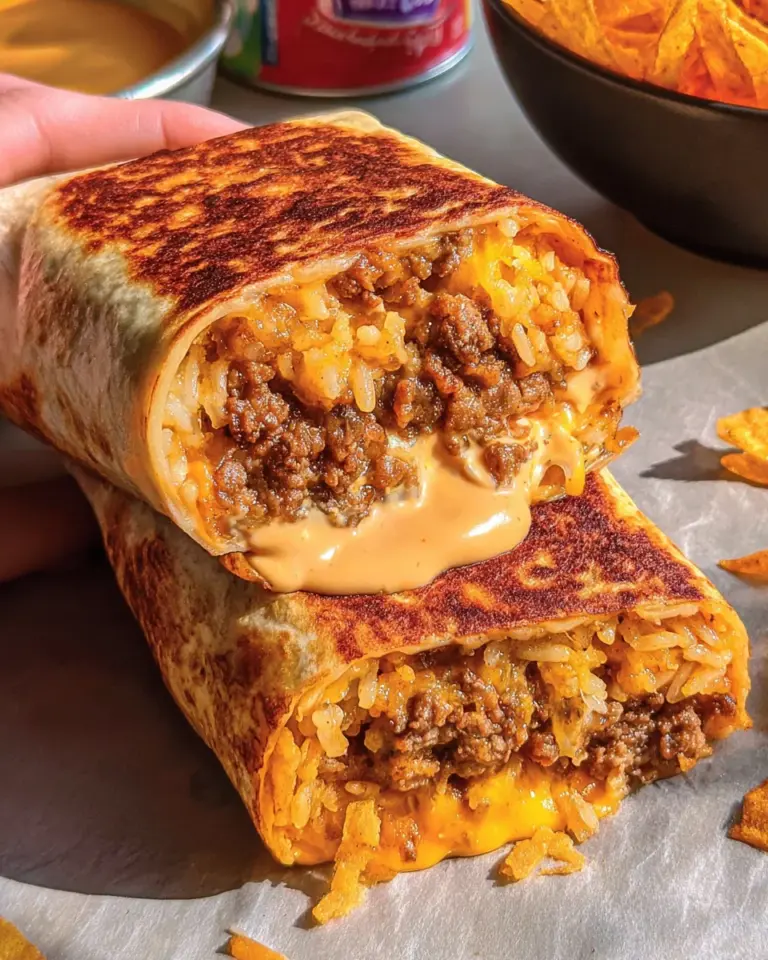
Grilled Cheese Burrito (Taco Bell Copycat Recipe)
Page navigation
Previous Page
Previous
1
2
3
4
…
49
Next Page
Next
Scroll to top
Scroll to top
Home
Main Dishes
Desserts & Sweets
Breakfast & Brunch
Appetizers & Snacks
About
Contact
Toggle Menu Close
Search for:
Search